So, you're diving into the world of making chena, or as most people know it, homemade paneer? One of the first things you need to nail down is your choice of milk because it matters more than most would think. Not all milk is born equal when it comes to making that perfect, soft, and creamy chena.
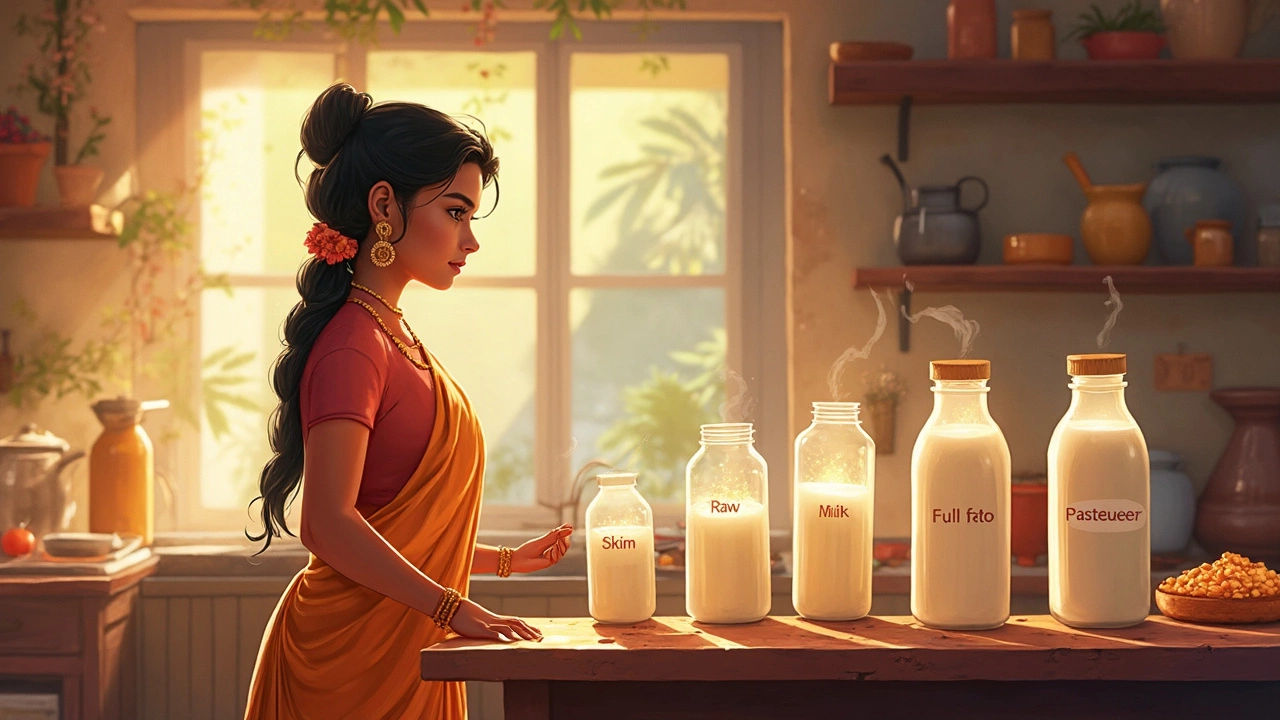
Now, here's the deal: full-fat milk is your best friend here. It gives you a rich, thick base to work with, leading to a paneer that holds together well and tastes divine. Skim milk, on the other hand, might leave you with a crumbly texture that's far from ideal. But there's more to it than just the fat content.
Ever heard of raw milk versus pasteurized milk drama? Raw milk enthusiasts swear by their choice, claiming it leads to a superior texture and flavor. But if safety is your game, pasteurized is the way to go. The key is finding balance and knowing what you care more about—the taste or the peace of mind.
- Understanding Chena Basics
- Milk Types and Their Impact
- Traditional Practices and Tips
- Modern Approaches to Chena Making
Understanding Chena Basics
Starting on your journey to make chena? It's a fun ride, filled with flavorful rewards. At its core, chena is pretty straightforward: it's curdled milk. Yeah, that's it. But not just any milk will do; the type of milk impacts everything—from its texture to its flavor. A good chena forms the building block for homemade paneer, and getting the basics right is crucial.
How Chena Is Made
The process is simple. You bring your milk to a rolling boil and then add a souring agent. This agent could be lemon juice, vinegar, or even curd. The milk curdles, the solids separate from the whey, and your chena is ready. Easy enough, right?
- Boil the milk until it gets frothy.
- Add the souring agent gradually while stirring.
- Once curdled completely, let it cool for a few minutes.
- Strain the mixture through a muslin cloth, capturing the chena.
- Press out excess water to get a firm but soft texture.
Why Milk Choice Matters
Milk's role is huge. Full-fat milk produces a creamy chena that's rich and holds together beautifully. That's key, especially if you're aiming for a tender, melt-in-your-mouth kind of paneer. Skimmed milk? It might give you a dry, crumbly mess.
If you decide to use raw milk, remember that it might not be as safe, but it definitely accentuates the taste. Pasteurized milk is safer but may slightly change the texture. Understanding these nuances makes all the difference.
Interesting Fact
Did you know that India is the largest producer and consumer of paneer in the world? With all the regional variations, the way you make chena can be as diverse as the regions themselves!
Milk Types and Their Impact
When it comes to making chena or paneer, the type of milk you use is a game-changer. It influences everything from the texture to how it holds shape and even the flavor.
Full-fat vs. Skim Milk
Starting with the basics, full-fat milk is generally the go-to choice. Why? The higher fat content means a richer texture and a creamy finish, which is exactly what you want. Skim milk, while healthier on the calorie scale, tends to produce a brittle and less cohesive final product. So if you're after quality, full-fat is your friend.
Raw vs. Pasteurized Milk
Here's where you get into a bit of a debate. Raw milk fans claim it gives a superior taste and texture. It hasn't been heat-treated, so the natural enzymes and bacteria that help curdle the milk are intact. However, there's a risk factor to consider since it’s not pasteurized.
On the flip side, pasteurized milk is safer, as it's heat-treated to kill harmful bacteria. The downside? Pasturization can interfere with the natural curdling process, which is key for making homemade paneer. You might find you need to add a little extra acid when using pasteurized milk to get that perfect curdle.
Ultra-pasteurized Milk
A word of caution—steer clear from ultra-pasteurized milk. It's heated to even higher temperatures, changing the protein structure. This can make it next to impossible to achieve the curd separation needed for good chena. It might seem convenient at first, but it rarely gives you the results you'd hope for.
Organic Milk
If budget allows, going organic isn't a bad option. Often, organic milk has a less processed flavor and potentially higher fat content, which can subtly elevate your chena game. Just make sure it's not ultra-pasteurized, or you'll face the same issues as mentioned earlier.
Traditional Practices and Tips
Let's dive into some age-old methods for making chena that have been passed down through the generations. These traditional practices aren't just about nostalgia; they're about achieving the best texture and flavor.
Using Lemon Juice
One popular way to curdle the milk is by using fresh lemon juice. Many folks prefer this method because it’s all natural and adds a slight tang to your paneer, making it even more appetizing.
- Start by boiling the milk. Once it comes to a boil, turn off the heat.
- Add a few tablespoons of fresh lemon juice slowly, stirring as you go.
- Watch the curd and whey separate, which usually happens after a couple of minutes.
Don’t Skimp on the Stirring
Don’t underestimate the power of a good stir. Stirring gently and consistently while adding the curdling agent ensures even distribution, leading to perfectly balanced chena.
The Cloth Technique
Traditionally, a muslin cloth is used to strain the curds. Here's why it's so important:
- Using a cloth keeps the paneer soft and allows the whey to drain effectively.
- After straining, hang the cloth for a bit to remove excess water without losing moisture completely.
Temperature Matters
Here's a tiny but crucial detail: when boiling the milk, keep an eye on the temperature. Too high or too low of a boil can affect your chena. You want just the right heat to let it boil and thicken without burning.
Fun Fact: Whey Is Gold
Don’t throw away the whey! In some households, whey is saved and used in soups or even for kneading dough because of its rich nutritional value.
This fusion of tradition and practicality not only makes the process satisfying but ensures that your homemade paneer rivals any store-bought variety.
Modern Approaches to Chena Making
Chena-making has come a long way from traditional hearths. Nowadays, getting your hands on the perfect batch of homemade paneer can be easier than ever, thanks to modern techniques and kitchen gadgets.
Using Technology to Your Advantage
Let’s start with this: have you ever tried using an Instant Pot or a similar multicooker for your chena? It’s kind of a game-changer. These devices maintain consistent heat, which is crucial in preventing milk from burning or boiling over, ensuring a smooth curdling process. Moreover, this precise heat control can make a noticeable difference in the texture of your paneer.
There's also the option of buying curdlers or setting powders available in the market. These are formulated to streamline the chena-making process. Still, good old lemon juice or vinegar is often preferred by purists. You get to choose your team here!
Sourcing Milk in the Modern Marketplace
While full-fat milk remains the best choice, many are exploring organic or grass-fed options, which are now more accessible. These tend to have a slightly different flavor profile—richer and more nuanced, according to some aficionados. "Organic milk has elevated my paneer’s taste to another level," says prominent chef Mira Patel.
"Experimenting with different types of milk is like an adventure in flavors. Each variety brings something unique to the table," Chef Mira Patel, author of 'Purely Paneer'
Besides, with sustainability gaining traction, many home cooks only opt for local dairies to support smaller farms and ensure freshness. This trend is not just beneficial for your chena but also a nudge towards conscious consumption.
Embracing DIY Culture
If you're feeling adventurous, how about adding flavor infusions? Herbs, spices, or even dried fruits can be integrated into your chena, giving it a gourmet twist. This DIY approach also extends to experimenting with different levels of acidity—playing with various types and quantities of curdling agents to perfect that bespoke taste and texture.
Finally, modern methods emphasize hygiene and storage, ensuring that your chena is not only delicious but also safe and long-lasting. Investing in airtight containers and storing them correctly can make a world of difference. Here's a quick tip: always cool your paneer completely before refrigeration to maintain its integrity.
So, whether you're a stickler for tradition or an innovator in the kitchen, these modern approaches are there to make your chena-making journey as fulfilling as possible.