Paneer - a staple in many Indian and South Asian dishes - is a treasured ingredient in the world of home cooking. Making it at home can lend a special touch to your culinary creations, often resulting in a fresher and more flavorful product.
If you've ever wondered how much paneer you'll end up with from a gallon of milk, you're not alone. This question piques the curiosity of many home chefs eager to try their hand at cheese-making.
In this article, we’ll journey through the fascinating process of transforming milk into paneer, examining the expected yield, the science behind it, and useful tips to ensure your homemade paneer is nothing short of delightful.
Understanding the Basics
Delving into the world of homemade paneer begins with understanding what exactly paneer is. This delicious cheese is known for its firm texture yet soft crumbly nature. It is a non-melting fresh cheese—a rarity among its kind—and is often used in curries and grilled dishes throughout India and beyond. The primary component of paneer is, of course, milk. The process leverages the natural proteins present in milk, which, when combined with an acid like lemon juice or vinegar, coalesce to form curds. These curds are pressed and drained, resulting in a compact block of cheese.
The yield of paneer from milk tends to vary based on several factors, but on average, a gallon of milk, which is approximately 3.8 liters, can produce around 14 to 16 ounces of paneer. This estimate is subject to change due to variations in milk quality and type. Whole milk, for instance, typically offers a greater yield than skimmed milk due to its higher fat content. It's fascinating to note that milk alone wouldn't suffice without the acidity agent, which encourages curdling. Using cow's milk is the most common choice among home cooks. It hits the right balance of fat and protein for desirable outcomes.
Historically, paneer-making has deep roots in the subcontinent, with mentions of dairy creeps in everything from ancient texts to modern cookery books. It’s intriguing to observe how a fundamental technique has spanned generations and geographic boundaries, evolving into myriad forms. Hence, when embarking on the homemade paneer adventure, one is partaking in a cultural ritual that melds history with culinary art—yet the practice itself is grounded in a straightforward understanding of transforming milk molecules.
The Milk Factor
Diving deeper into milk types, it's clear that the choice influences not just the yield but also the flavor and texture of the paneer. Whole milk emerges at the top in preference, particularly because its richness enhances the taste and texture of the final product. Organic, non-homogenized milk can add an extra layer of lusciousness, reminiscent of traditional paneer, thanks to its creamline. For those who like a lighter option, though, reduced-fat milk is technically feasible, but be prepared for a slightly lower yield. Some culinary enthusiasts opt to add a bit of cream to compensate for the lower fat levels and achieve the classic richness expected from paneer.
"The type of milk undoubtedly defines the character of the cheese," noted culinary expert Priya Krishna in a feature about Indian cuisine’s staples, "Paneer embodies this principle entirely as each milk variety lends it a unique sheen."
Before beginning the paneer-making expedition, it helps to remember how pivotal the freshness of milk is. Fresh milk results in a fresh batch of paneer. This process demonstrates an intersection of agriculture and gastronomy, making it essential to appreciate the source and quality of the milk. In farm-friendly regions, raw milk may be an option for a truly farm-to-table experience, although proper pasteurization is recommended for health concerns. It's noteworthy that the variability of paneer yield between different types and brands of milk is no deterrent for culinary adventurers. Equally useful is keeping an eye on the temperature—it influences the curdling process significantly, with warmer climates possibly lowering the time required.
Process of Making Paneer
Making paneer at home is not just a culinary exercise, but an exploration into the simple beauty of cheese-making. The process starts with milk, the primary and most essential ingredient. Begin by selecting a gallon of milk, preferably whole milk, as it yields a richer and creamier paneer. Pour this milk into a large pot, ensuring there is enough space to accommodate boiling without risking spillage.
Heat the milk gradually over medium heat, stirring occasionally to prevent it from scorching at the bottom. Patience is key here as it takes time for the milk to reach an even, gentle boil. This is a crucial step; some say that the quality of the boil can significantly impact the texture of your final product. As the milk heats, take a moment to prepare your acidulant, which could be lemon juice, vinegar, or citric acid. Each acid gives paneer a slightly different texture and taste, so experimenting is encouraged.
Once the milk reaches a rolling boil, reduce the heat and begin slowly adding your chosen acidulant, one tablespoon at a time, while stirring gently. You will notice the milk curdling almost immediately, as it separates into curds and whey. This is the magical transformation from milk to cheese. Many seasoned cooks underscore the importance of not over-curdling, suggesting that curds that form too quickly can result in a tougher paneer.
"Paneer offers a blank canvas of flavor and can adapt itself to any spice and seasoning you introduce," notes culinary icon, Madhur Jaffrey, emphasizing the versatility of this beloved cheese.
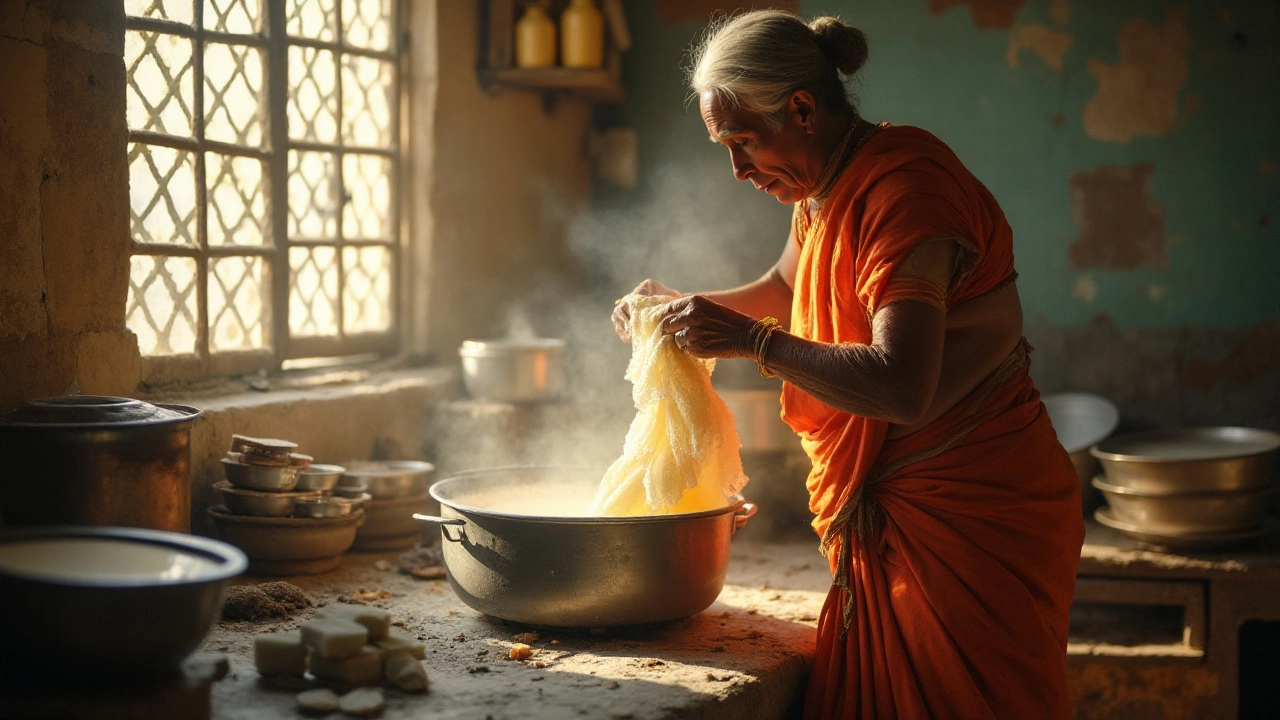
The next step involves straining. Line a large colander or sieve with cheesecloth and carefully pour the curdled milk through it. The liquid whey will drain away, leaving you with fresh curds in the cheesecloth. It is advisable to rinse these curds under cold running water to remove any lingering acidic flavor which can influence the taste of the paneer.
Your paneer now awaits pressing; gather the curds in the cheesecloth, wrapping them tightly to form a bundle. Apply pressure by placing a weight on top of it. This process helps in expelling excess whey, firming up the paneer. A common household item, like a heavy pot or a stack of books, serves well as a weight. Allow the paneer to sit under this weight for no less than 30 minutes.
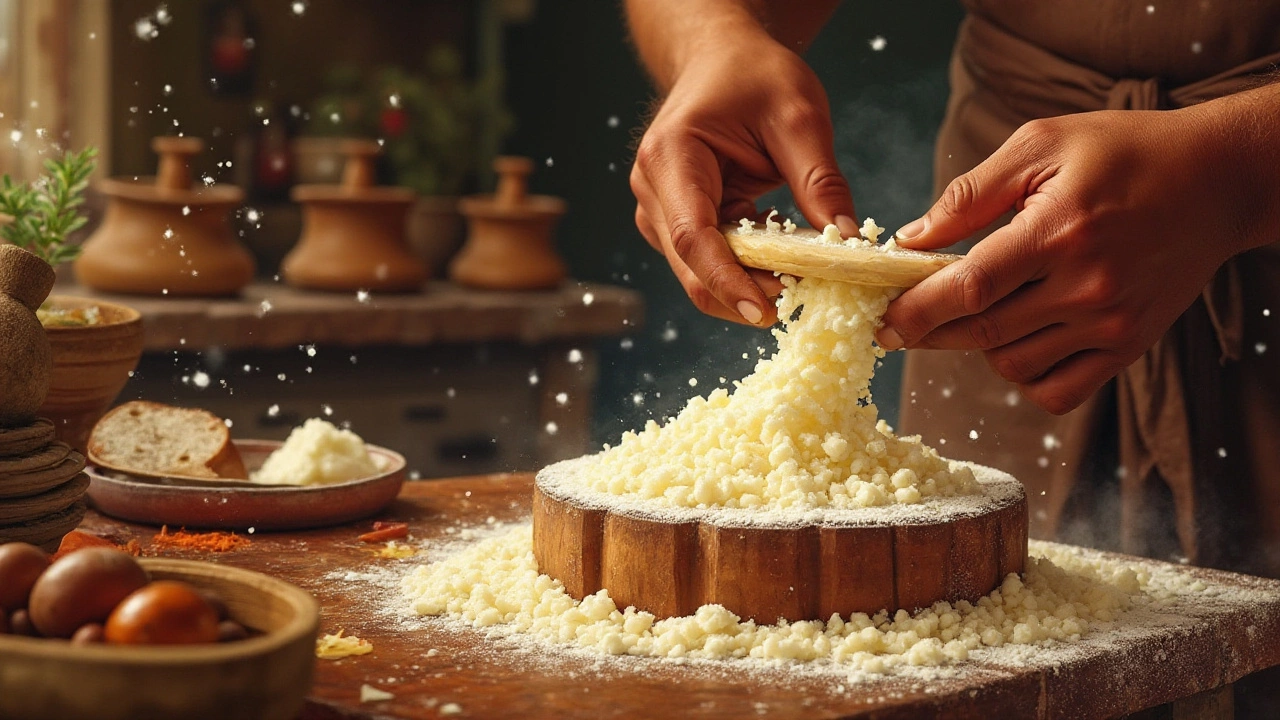
Finally, you will be met with a solid block of paneer. It can be cut into cubes for dishes or crumbled for use in fillings. At this stage, it can either be used immediately or stored in the fridge, where it can last a few days. Many chefs find that the flavors develop more fully with a little refrigeration. Remember, each step in this process, from the quality of milk to the method of application of pressure, influences the yield and texture of your homemade paneer.
Factors Affecting Yield
When it comes to crafting the perfect homemade paneer, understanding the factors that affect the yield is crucial. The quantity of paneer derived from a gallon of milk is not merely a straightforward calculation; it is influenced by a multitude of variables, each playing a significant role. Primarily, the type of milk used is of utmost importance. Whole milk, with its higher fat content, is generally preferred for making rich and creamy paneer. The richness provided by whole milk leads to a greater yield compared to skim or low-fat alternatives. This is because the fat molecules, which contribute to the texture and richness of the paneer, are in higher concentration in whole milk, ensuring the paneer is not just more in quantity but also better in quality.
Another crucial element affecting the yield is the freshness of the milk. Milk that is closer to its extraction point has a tendency to curdle more efficiently, producing more paneer. As milk ages, its ability to curdle can diminish, potentially affecting how much paneer you can extract from it. Additionally, the acidity of the coagulant, such as lemon juice or vinegar, also significantly influences yield. The right amount of coagulant is necessary—not too little to overly weaken the curd formation, and not too much to introduce an unwanted sour flavor. Each coagulant requires a slightly different amount and technique, guiding the proteins to come together effectively without compromising taste.
Temperature control during the paneer-making process cannot be overstated. Heating the milk to just the right temperature before adding the coagulant is critical. Typically, warming milk just before it reaches a full boil is ideal – around 185°F (approximately 85°C). Maintaining this heat ensures that the milk proteins unfold and coagulate properly when the coagulant is introduced. On the contrary, adding the coagulant at too low or too high a temperature might lead to a lesser yield and an undesired texture. Moreover, the technique used in draining the curds impacts the yield significantly too. If too much pressure is applied during the drainage, excessive whey might escape along with precious milk solids, reducing your end product. Allowing the curds to drain naturally over time is often recommended for a higher yield. Additional factors can include environmental conditions such as humidity, which slightly affect the drainage time required to achieve the ideal texture of paneer.
If historical data is any indicator, some households claim a yield judgment of spanning 12 to 16 ounces of paneer from a single gallon of milk, depending primarily on these variables. This is echoed in cookbooks like "The Art of Indian Cooking," which describe the dairy cultural nuances impacting paneer production.
"Making paneer at home is a delicate dance between nature and nurture, where tradition marries technique, and the yield marks the success of their union," hailed the authors of 'Cheese Originals'.
In essence, precise control and understanding of these factors—milk yield, cheese making, and ingredient handling—are at the heart of achieving the most from your milk, ultimately affecting both your culinary delight and satisfaction.
Tips for Perfect Paneer
Crafting the perfect homemade paneer can be a rewarding experience, particularly when it comes out just right: firm yet soft, rich in flavor, and versatile enough for a variety of dishes. To achieve this, there are some important tips and techniques worth following. The key to outstanding paneer begins with the milk you select. Using full-fat milk is crucial as it ensures your paneer is creamy and bounces back beautifully from pressure. Though often tempting to use skim milk or low-fat options, they can yield a paneer that’s a bit dry and crumbly. A pro tip from seasoned paneer makers is to combine cow's milk and buffalo's milk if available, which can result in an even silkier texture.
When it comes to the milk's initial heating, attention to temperature is essential. Heating milk to a gentle boil not only helps in pasteurizing but also prepares the milk for curdling. An artful balance must be struck here; overheating can lead to unpleasant flavors, while insufficient heating might not separate the curds properly. For this reason, maintaining medium heat and constant stirring can prevent scorching especially at the bottom. As soon as the milk begins to rise, it's time to introduce the acid, typically lemon juice or vinegar, which completes the transformation into paneer. Yet, avoid pouring all at once; adding it gradually and mixing allows for an even separation of curds from whey.
Another aspect to consider while making homemade paneer is the straining and pressing, which ultimately determines its texture and form. Using a muslin or cheesecloth, firmly knot it and let most of the whey drain naturally. Once strained, you can hang it for smoother texture. If you prefer a firmer paneer, place the wrapped cheese under some weight, such as a heavy pot or a stack of plates. Beware though: pressing it for too long can make it too dense, while insufficient pressing might give you a crumbly product. An approximate guideline is around 30 to 40 minutes for pressing, depending on the desired firmness.
To enhance the paneer's flavor and ensure it absorbs any spices or sauces well in cooking, some experts suggest rinsing the cheese under cold water after the initial straining process. This step helps eliminate any lingering acidity from the lemon or vinegar. Moreover, some culinary experts recommend adding a pinch of salt directly into the milk to slightly infuse the paneer rather than salting it later. As famous chef Sanjeev Kapoor once said in a culinary circle,
"Paneer takes the flavor only when you give it time and care, much like a good friendship."Storing your cheese in the refrigerator immersed in water prevents it from drying out if not used immediately. This little trick can extend its refrigerated shelf life to about a week, barring any strong odors in the fridge.