Dosa Pan Temperature Calculator
Optimal Cooking Temperature Guide
Select your pan type to get the ideal temperature range for a perfectly crispy dosa.
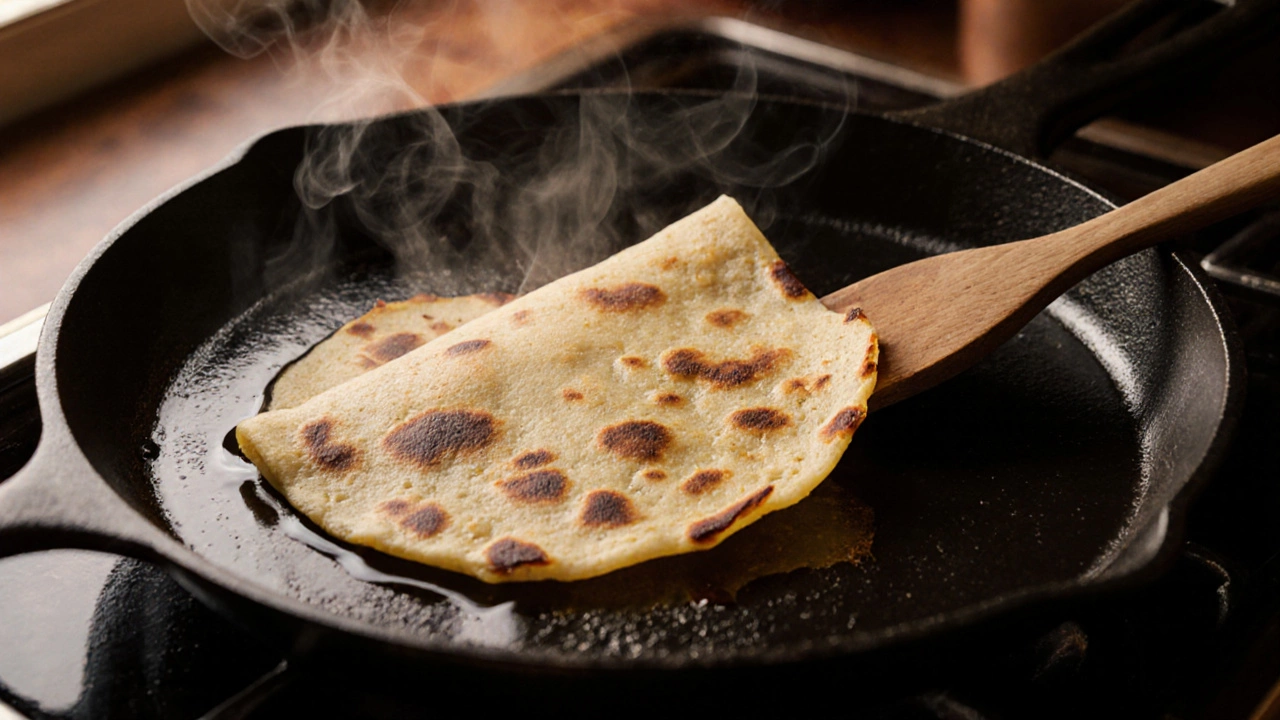
Ever wondered why your Dosa is a thin, crepe‑like Indian pancake made from fermented rice and urad dal batter that turns soggy instead of delivering that satisfying crunch? You’re not alone. A few tiny tweaks in the batter, the pan, and the cooking method can turn a limp flatbread into a perfectly crisp dosa. Below we break down the science, spot the usual suspects, and give you a step‑by‑step cheat sheet so every batch comes out crisp every time.
What Makes a Dosa Crispy?
Crunch isn’t magic; it’s the result of moisture evaporating quickly, sugars caramelizing, and a thin layer of oil sealing the surface. Three ingredients play the starring roles:
- Rice - provides starch that gelatinizes and creates a crisp lattice when heated.
- Urad dal - adds protein and helps the batter spread thinly.
- Fermentation - creates tiny air pockets and a slight acidity that speeds up caramelization.
If any of these elements are out of balance, the batter either clings to the pan or releases too much water, leaving a soft texture.
Common Culprits Behind a Soft Dosa
- Excess Water - A batter that’s too runny won’t form a solid film. Aim for a consistency similar to thick pancake batter; a spoonful should coat the back of a spoon without dripping.
- Insufficient Fermentation - Without enough lactic‑acid bacteria, the batter stays dense and releases steam during cooking, sogging the surface. A 12‑hour room‑temperature ferment (or 8‑hour in a warm spot) is ideal.
- Wrong Rice to Dal Ratio - Too much rice can make the batter gummy; too much dal makes it sticky. The classic 3:1 rice‑to‑urad dal ratio is a safe starting point.
- Pan Temperature - A lukewarm pan won’t sear the batter fast enough. You need a surface that sizzles the moment the batter hits it (around 200‑220 °C for cast‑iron, 180‑200 °C for non‑stick).
- Insufficient Oil - A thin drizzle of oil spreads heat evenly and prevents the batter from sticking. Skipping oil altogether often results in a dry‑stuck dosa that tears when you try to lift it.
- Using Lye Water (optional) - Some chefs add a pinch of alkaline lye water to raise pH, which encourages browning. Too much, however, can make the batter taste soapy and affect crispness.
Addressing each of these points usually fixes the problem.
Equipment Matters: Choose the Right Pan
Traditional iron tava or a heavy‑bottomed cast‑iron skillet is the gold standard. The mass stores heat and distributes it evenly, giving the batter a rapid, uniform crust. If you only have a non‑stick pan, pre‑heat it longer and use a silicone spatula to spread the batter quickly before it cools.
Here’s a quick comparison of common pans:
| Pan Type | Heat Retention | Ideal Temperature Range (°C) | Ease of Cleaning |
|---|---|---|---|
| Cast Iron | High | 200‑220 | Requires seasoning |
| Carbon Steel | Medium‑High | 190‑210 | Seasoned, moderate |
| Non‑stick | Low‑Medium | 180‑200 | Very easy |
| Stainless Steel | Low | 170‑190 | Easy, but hot spots |
Step‑by‑Step Troubleshooting Checklist
Use this list the next time your dosa falls flat. Mark each step as you go.
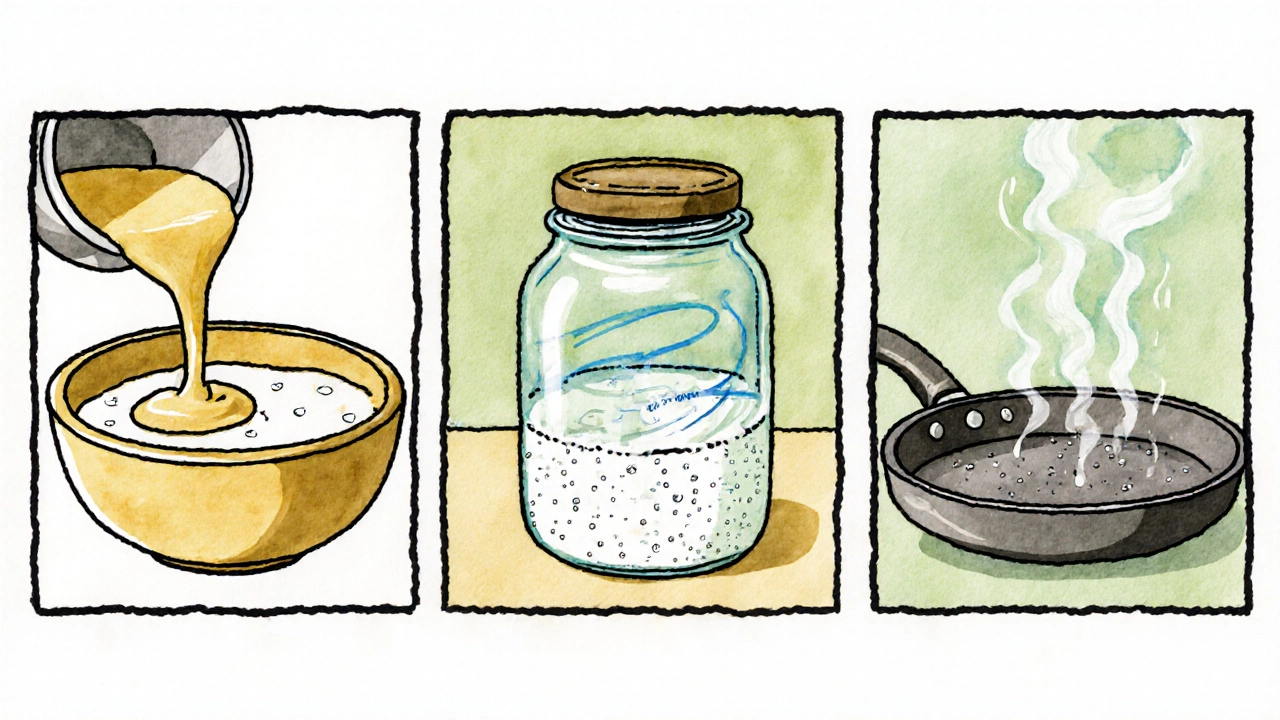
- Measure the water‑to‑rice ratio. For 2 cups of raw rice, use about 2½ cups of water for soaking and 1‑½ cups for grinding.
- Grind the soaked rice and urad dal separately to a fine paste, then combine. The texture should be smooth, not grainy.
- Add salt after fermentation, not before. Salt can inhibit the beneficial bacteria.
- Ferment the batter in a warm (30‑35 °C) spot for 8‑12 hours. The batter should rise by 30‑40% and have a mildly sour smell.
- Before cooking, stir the batter gently. If it looks too thick, add a tablespoon of water at a time; if too runny, add a bit of rice flour.
- Heat the pan on medium‑high for 5‑7 minutes. Sprinkle a few drops of water; they should sizzle and evaporate instantly.
- Apply a thin film of oil using a paper towel. Too much oil will make the dosa greasy; too little will cause sticking.
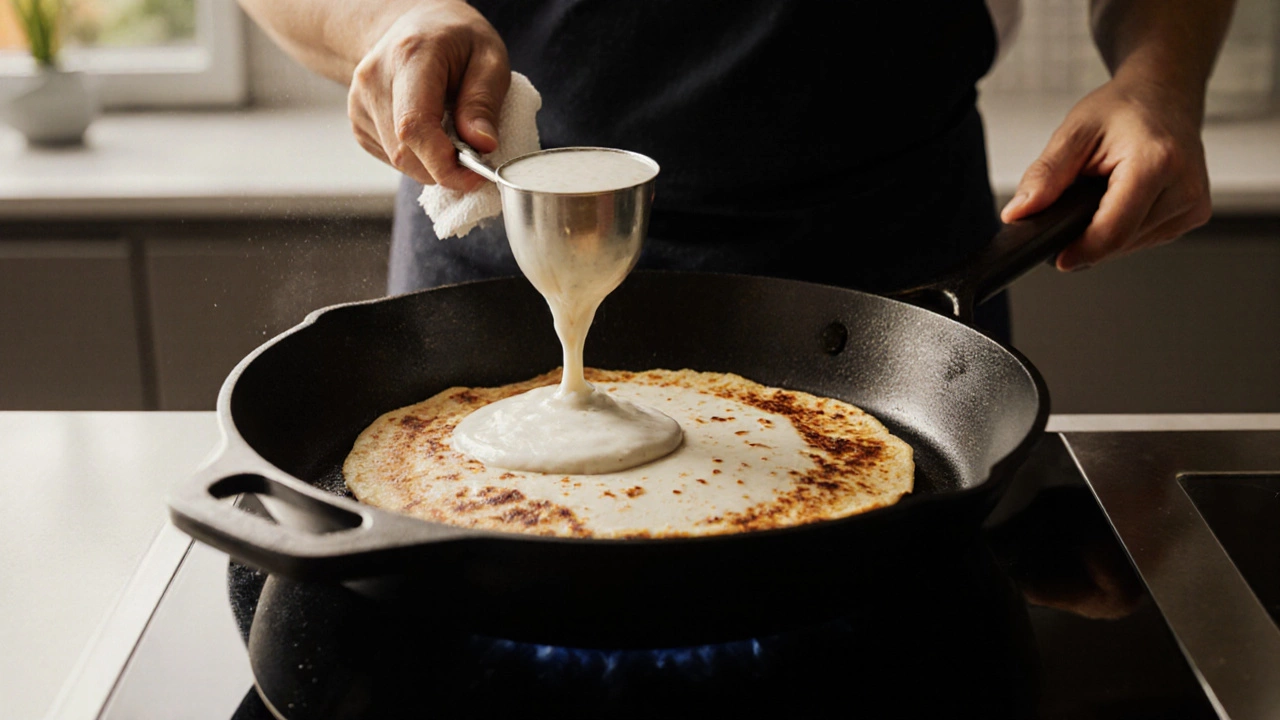
- Pour a ladleful of batter onto the centre, swirl the pan clockwise (or counter‑clockwise) for 10‑15 seconds to spread it thinly.
- Watch the edges turn golden and start to lift. Once the surface is glossy and the bottom is deep brown (about 1‑2 minutes), flip only if you like a double‑crisp; otherwise, serve as‑is.
- Adjust the flame if you notice the dosa browning too fast or staying pale.
Follow the checklist, and you’ll quickly see the difference between a soggy pancake and a truly crispy dosa.
Pro Tips for Ultra‑Crisp Dosa
- Use a small amount of lye water (optional) - ¼ teaspoon per cup of batter raises pH and quickens browning.
- Dry‑roast the rice before soaking. This reduces its moisture‑holding capacity, leading to a drier batter.
- Add a pinch of baking soda right before cooking; it creates extra bubbles that lift the crust.
- Cool the batter overnight in the fridge. Cold batter spreads thinner and gives a crisper bite.
- Serve immediately after cooking. Dosas left to sit absorb moisture from the air and lose crunch.
These tricks are what seasoned chefs in South Indian homes swear by, and they work even in a modern Auckland kitchen.
Frequently Asked Questions
Why does my dosa stick to the pan?
Sticking usually means the pan isn’t hot enough, the batter is too wet, or you skipped the oil. Bring the pan to a steady sizzle, thin the batter if necessary, and drizzle a little oil before spreading.
Can I use only rice without urad dal?
Pure rice creates a dense, less‑elastic batter and won’t spread thinly. Adding urad dal provides protein and a fluffy texture that’s essential for crispness.
My batter ferments too fast and over‑sours. What should I do?
Cool the fermenting container in the fridge after 6‑8 hours. This slows down bacterial activity while preserving the light tang you need for a good crust.
Is it okay to use a regular non‑stick pan?
Yes, but pre‑heat longer and avoid high flames that can damage the coating. You may need a bit more oil to achieve that golden edge.
How long can I store fermented dosa batter?
In the refrigerator, the batter stays good for 3‑5 days. Give it a gentle stir before each use, and add a splash of water if it has thickened.
Now you have the full toolkit to turn a limp pancake into the golden‑crisp dosa you’ve been craving. Experiment with one variable at a time, keep a notebook, and soon the perfect crunch will become second nature.