Dosa Batter Poha Calculator
Calculate Your Poha Amount
Enter your ingredients and preferences to determine the right amount of poha for perfect dosas.
Recommended Poha Amount:
Ever wondered why many South Indian cooks sprinkle a handful of flattened rice into their dosa batter? The answer isn’t just tradition-it’s science, texture, and flavor all rolled into one tiny ingredient. Below we break down what poha in dosa batter actually does, when you should use it, and how to get the perfect crisp without the guesswork.
What is Poha?
Poha is a thin, flattened rice flake that’s lightly toasted and dried. It’s a staple in many Indian breakfast dishes such as upma and snacks like chivda. Because the grains are pre‑cooked and then dehydrated, poha rehydrates quickly, giving it a soft, almost puffed texture when soaked in water.
Why Poha Joins the Dosa Batter Crew
Traditional dosa batter is a blend of rice and urad dal, ground, mixed with water, and left to ferment. Adding poha introduces three key benefits:
- Improved fermentation speed: Poha’s fine texture creates a smoother slurry, allowing the natural lactic‑acid bacteria to work more efficiently.
- Enhanced crispiness: During cooking, the soaked poha releases starch that spreads thinly, forming a crunchy edge without making the center gummy.
- Better bite consistency: The extra starch balances the softer urad dal, yielding a dosa that’s tender inside yet firm outside.
How Poha Affects Texture and Fermentation
When you soak poha, it absorbs water at a rate of roughly 2.5g of water per gram of flake. This rapid absorption creates a homogenous batter where the rice particles are less likely to clump. The uniform matrix helps fermentation by distributing sugars evenly, so the microbes get a consistent food source. The result is a batter that rises faster-usually 6‑8hours instead of the typical 10‑12hours in warm climates.
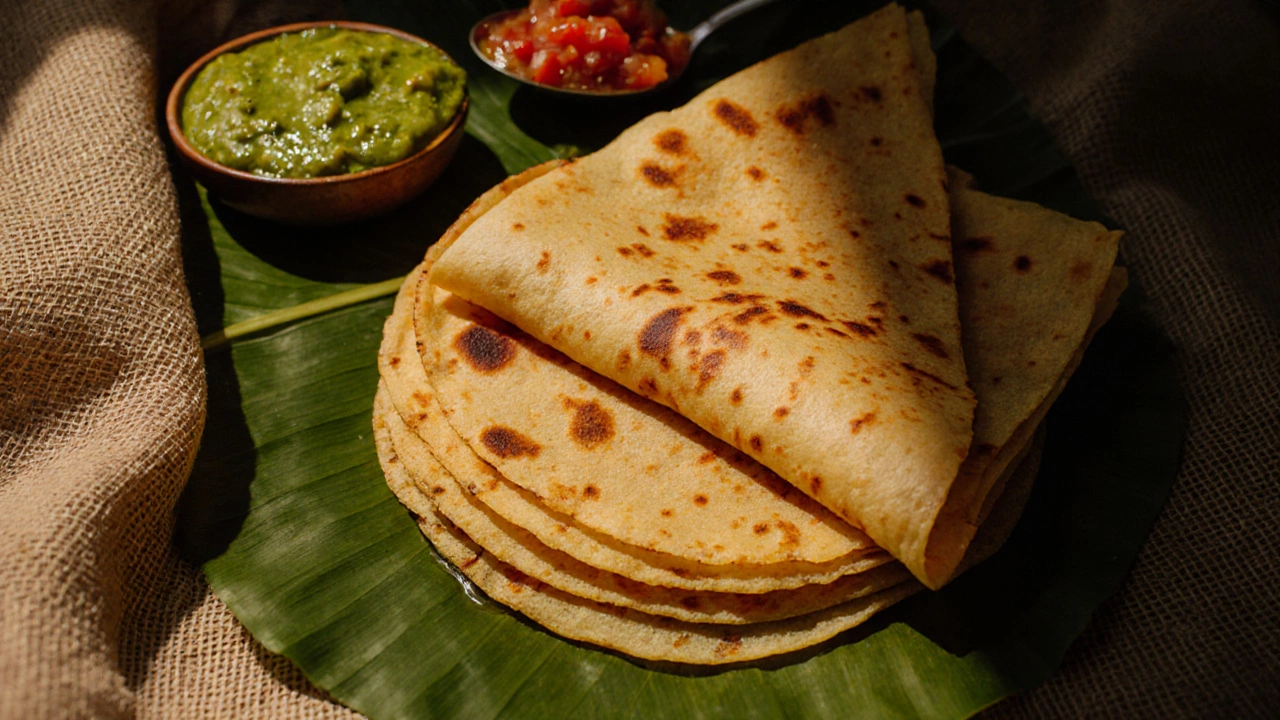
From a textural perspective, the gelatinized starch from poha forms a thin film on the pan surface. When the batter hits the hot griddle (around 210°C), this film dries instantly, giving that signature sizzle and crisp edge that we all love.
When to Use Poha vs. Other Add‑Ins
Many cooks experiment with alternatives like semolina (rava), cornmeal, or even oats. Here’s a quick side‑by‑side look:
| Ingredient | Absorption Rate | Fermentation Impact | Crunch Factor |
|---|---|---|---|
| Poha | 2.5g water/g | Speeds up 20‑30% | High |
| Semolina (Rava) | 1.8g water/g | Neutral - may hinder if too much | Medium |
| Cornmeal | 2.0g water/g | Can impede fermentation due to coarse texture | Low‑Medium |
As the table shows, poha stands out for its ability to boost fermentation while delivering the crispiest bite. If you’re after a softer, fluffier dosa-similar to an idli-you might skip poha and stick to the classic rice‑urad mix.
Step‑by‑Step: Adding Poha to Your Dosa Batter
- Measure 1cup of raw rice and ¼cup split urad dal. Rinse thoroughly.
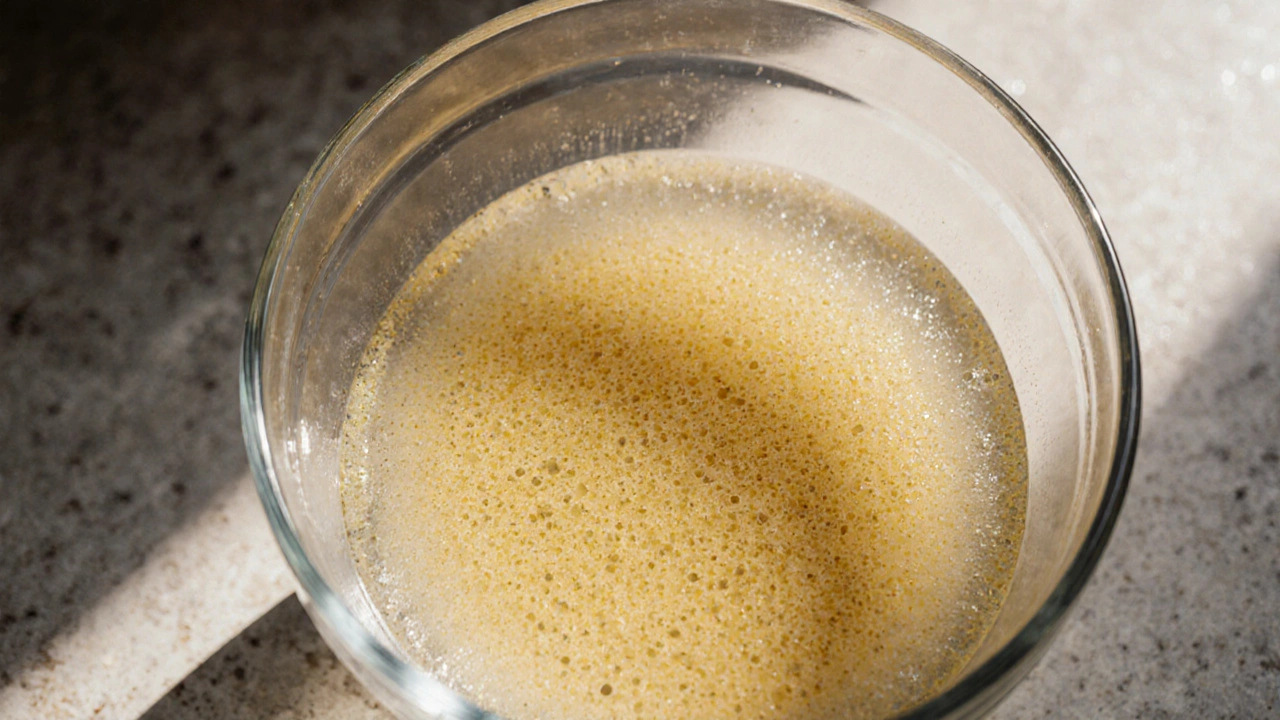
- Soak the rice and dal together for 4-5hours. In a separate bowl, soak ½cup of poha for 30minutes. The poha should swell and become soft.
- Drain the rice‑dal mixture and grind to a smooth paste using a wet grinder or high‑speed blender. Add the soaked poha and blend again until the batter is uniform.
- Adjust water gradually to achieve a pouring consistency-about 1½cups of water for the above quantities, but this can vary with humidity.
- Cover the batter and let it ferment in a warm spot (30‑35°C) for 6-8hours. You’ll notice bubbles forming and a slightly sour aroma.
- Before cooking, stir the batter gently. If it feels too thick, add a splash of water; if too runny, a pinch of rice flour helps.
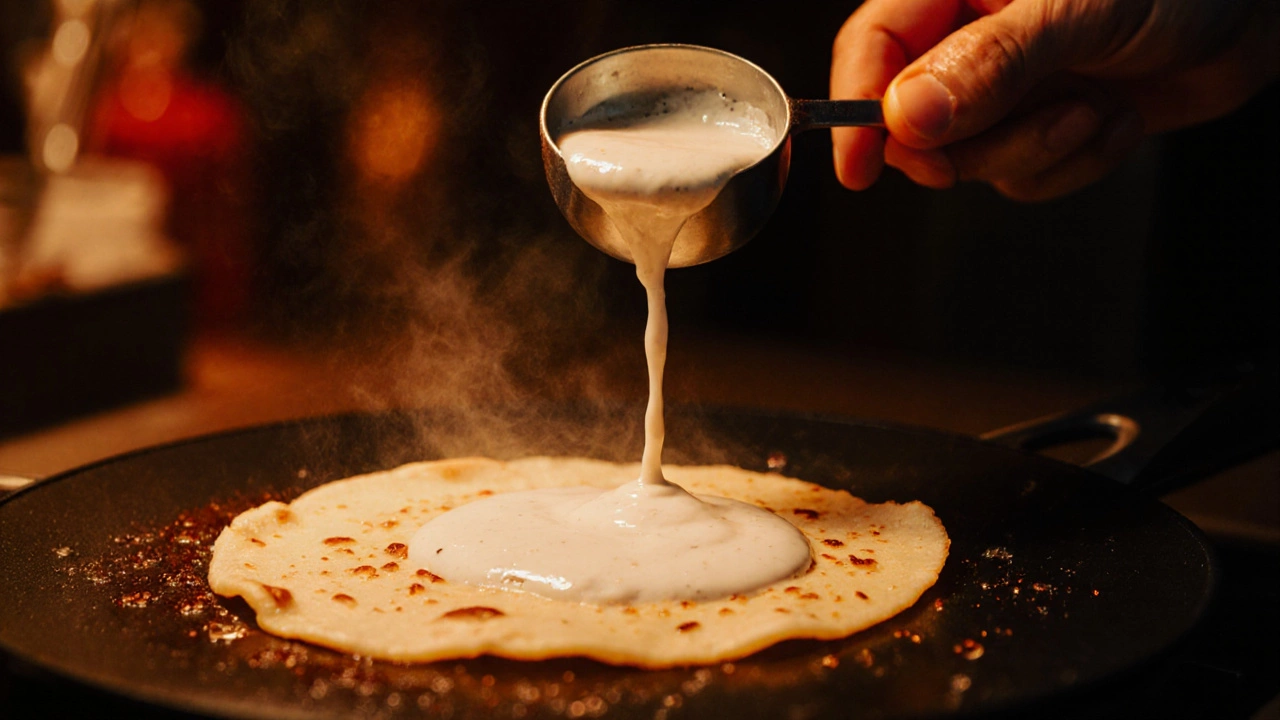
- Heat a non‑stick griddle, drizzle a few drops of oil, and pour a ladleful of batter, spreading it thin. Cook until the edges turn golden and crisp-about 2minutes on each side.
Common Mistakes & How to Fix Them
- Too much poha: The batter becomes overly thick, leading to dense dosas. Reduce poha to half the suggested amount.
- Insufficient soaking: Dry poha won’t integrate, causing gritty spots. Always soak at least 20minutes.
- Cold fermentation: In cooler climates (like Auckland), the batter may ferment sluggishly. Use a warm oven with the light on, or a fermentation mat.
- Over‑mixing after fermentation: This breaks down the airy bubble structure, resulting in flat dosas. Stir gently.
Quick Checklist Before You Flip
- Poha soaked and soft?
- Batter has visible bubbles and a mild sour smell?
- Consistency is like a thin pancake batter-runny enough to spread but not watery.
- Griddle is hot (test with a few drops of water-should sizzle instantly).
- Oil is spread thinly; too much oil makes the dosa soggy.
Frequently Asked Questions
Can I use instant poha instead of regular poha?
Yes, instant poha works fine, but soak it a bit longer-about 45minutes-so it fully hydrates. The texture will be comparable.
Is poha gluten‑free?
Absolutely. Poha is made from rice, so it’s naturally gluten‑free, making it a safe addition for gluten‑sensitive eaters.
How much poha should I add for a batch that serves four?
About ½cup of dry poha (≈30g) is ideal for a standard batter made from 2cups of rice and ½cup urad dal. Adjust up to ¾cup if you prefer extra crispness.
Will poha affect the flavor of the dosa?
Poha adds a subtle, slightly sweet undertone, but it never overpowers the traditional sour‑fermented taste. Most people notice only a texture change.
Can I store batter with poha for more than 24hours?
Yes. Keep the batter refrigerated in an airtight container. The poha helps maintain moisture, so the batter stays pliable for up to 48hours, though the flavor will become more sour.