
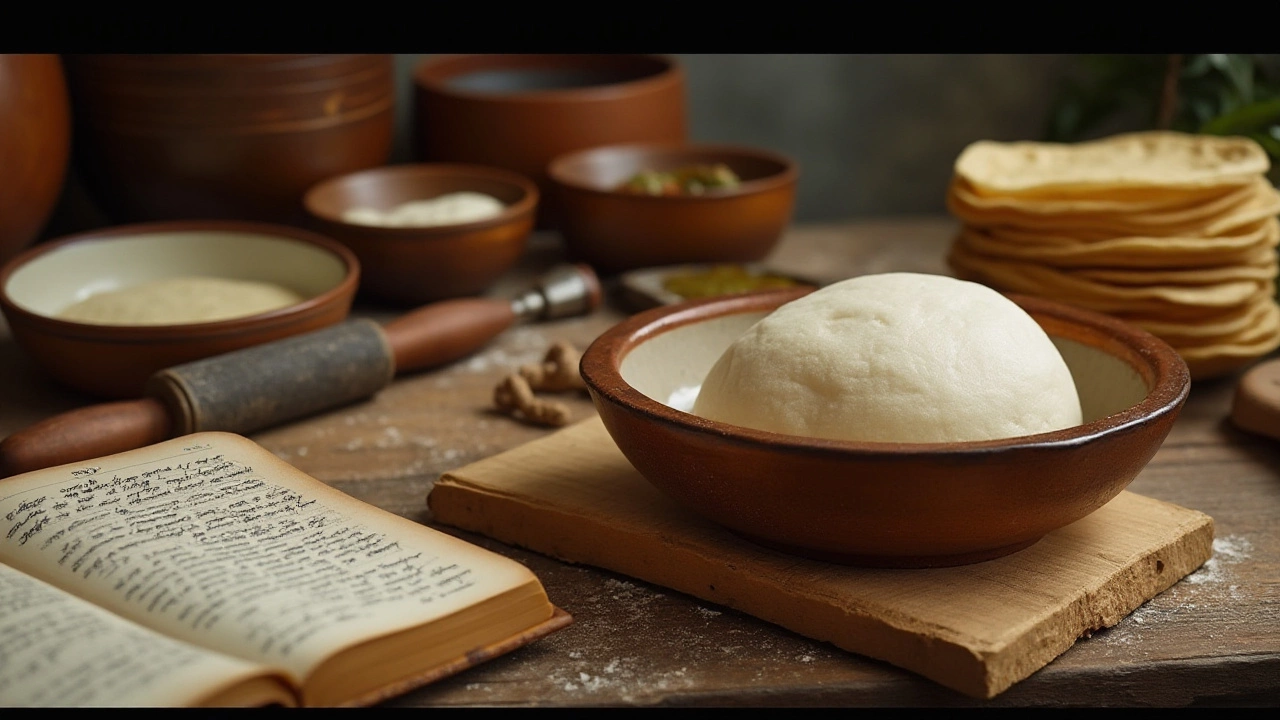
Making the perfect roti, a staple in many homes, often begins with the dough. If you've ever wondered how to achieve that soft and delightful texture, the secret might be simpler than you think.
From selecting the right kind of flour to understanding the nuances of dough handling, each step plays a vital role in transforming basic ingredients into a cherished bread. In this journey, we'll discuss not just the hows, but also the whys—the little details that make a big difference.
By exploring some tried-and-true methods and adding a few personal touches, you can bring a hint of perfection to your roti-making endeavors, ensuring every meal is both satisfying and memorable.
- Choosing the Right Ingredients
- Mastering the Kneading Technique
- Importance of Resting the Dough
- Cooking Tips for Soft Roti
Choosing the Right Ingredients
The journey to making soft dough begins with selecting the finest ingredients. While it might seem straightforward, the type of flour you choose and how you handle each ingredient can have a significant impact on the texture and flavor of your roti. At the heart of soft and pliable dough is the flour, typically whole wheat, as it contributes to the essential elasticity and structure. Emphasizing freshness is crucial; freshly milled flour often yields superior results compared to older stock that may have lost some of its moisture content and flavor.
When discussing flour specifics, the protein content, which dictates the gluten levels, is a factor that should not be underestimated. High-protein flour can provide a stronger dough that holds its shape well, but it could also result in a chewier texture rather than the desired softness. Many experienced cooks suggest mixing different types of flour, such as all-purpose and whole wheat, to balance texture and flavor. An equal mix often results in a perfect marriage of softness and structure, allowing you to get the best of both worlds.
Water is the next critical component. The temperature and quality of water play a pivotal role in the dough-making process. Lukewarm water is often recommended as it helps activate the gluten in the flour, providing a head start in achieving a soft consistency. Additionally, the mineral content in water can affect the dough; some bakers prefer using filtered or bottled water to minimize variations that might come from tap water, leading to consistent results.
Equally important is the use of salt, which not only enhances flavor but also strengthens the gluten network, fostering a uniform dough texture. Salt, however, must be balanced carefully; too much can toughen the dough, while too little may leave it bland. An addition that is often overlooked is a touch of oil or ghee, enriching the dough by creating a tender, flaky layer within the cooked roti. A spoonful integrated into the dough or brushed on the surface can enhance the softness significantly.
Finally, let's not ignore the optional yet impactful addition of yogurt. This ingredient introduces a subtle tang while its natural acids aid in breaking down portions of the gluten, making the dough even softer. Incorporating yogurt might seem unconventional, but many culinary experts stand by its ability to transform the quality of flatbreads.
"A high-quality roti flour and mindful ingredient selection can elevate even the simplest meal into an extraordinary dining experience," says acclaimed chef Anita Jaiswal, who has spent decades honing the art of roti-making.
In summary, the combination of thoughtful ingredient choices is key to crafting a soft dough. Whether it's mixing flours for the ideal texture or understanding the nuances of moisture control, each element works together to create the delightful experience of a perfectly prepared roti.
Mastering the Kneading Technique
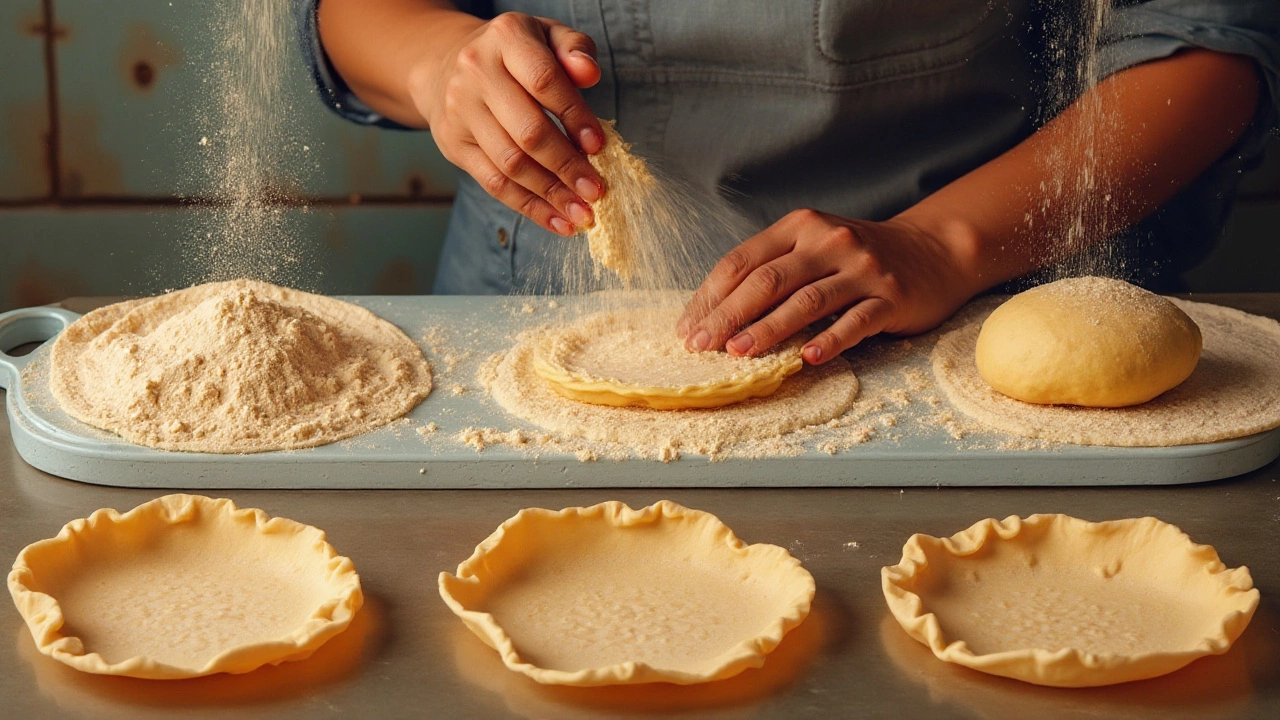
The art of kneading is a dance between the strength of your hands and the softness you seek in your dough. Understanding how to knead properly can transform your roti making experience, bringing you closer to that tender texture everyone loves. It starts with the tactile experience: feeling the flour granules gracefully meld with water, becoming a smooth, cohesive mass. Kneading requires your full attention, allowing you to connect with the dough as it changes consistency under your palms.
Patience is key in this process. When you devote at least 10 to 15 minutes to kneading, gluten naturally develops within the dough, lending it the elasticity needed for the rolling and cooking stages. A well-kneaded dough should feel soft yet firm, like an ear lobe when gently pinched. If you're new to kneading, it helps to practice with smaller amounts of dough, focusing on feeling the transition from a sticky mixture to a silky ball. Avoid the temptation to add too much flour too quickly; it can lead to a dry and tough dough. Instead, sprinkle it sparingly and work with the moisture you have, challenging yourself to achieve that characteristic soft dough texture.
Traditionally, skilled cooks have shared their kneading tips across generations. For instance, Chef Preeti Mistry, a well-known figure in Indian cuisine, advises,
“The moment you let your instincts guide your hands, your dough will speak to you. It will tell you when it’s ready.”Embrace her words by tuning into the dough's subtle signals, an intuition that develops naturally with experience.
Remember, consistency in kneading is crucial. Whether using the heel of your palm to stretch and fold the dough or employing a rhythmic rocking motion, each technique has its merits. The goal is to evenly distribute moisture and ensure the gluten mesh forms effectively. With each pass, imagine the transformation in the dough's interior structure as it becomes a web of interconnected gluten strands. Once you've reached the desired elasticity, you're one step closer to crafting that perfect soft dough essential for your roti. Through practice, you will not only enhance your technical skills but also elevate your culinary artistry, ensuring that each meal is a testament to your dedication and passion.

Importance of Resting the Dough
Resting the dough might seem like an optional step in the roti making process, but it is, in fact, one of the critical factors that contribute to achieving soft and pliable flatbreads. When you allow the dough to rest, magic happens at a molecular level. What was once a rough and shaggy mass transforms into a smooth and supple dough, ready to be rolled into perfect circles. The resting time gives gluten strands the chance to relax and extend, which means less resistance when you're rolling out the dough. This not only makes the dough easier to handle but also helps the roti puff up nicely during cooking, creating those delightful air pockets that add softness and texture.
What precisely happens during this resting period is quite fascinating. The time spent resting allows enzymes within the flour to break down proteins, developing the gluten network. This development is crucial, as it gives the dough elasticity—essential for homemade roti that doesn't tear easily. It also absorbs moisture more effectively, making it softer to the touch. Interestingly, the process isn't just about chemistry. It's also about convenience and rhythm in cooking, allowing you to prepare other parts of your meal while the dough rests, making the entire cooking experience feel more cohesive and less rushed.
Many experienced cooks suggest a minimum rest period of 20-30 minutes, though an hour can yield even better results. Some prefer to cover the dough with a damp cloth or plastic wrap to prevent any drying out. During this time, the dough absorbs the water more uniformly, resulting in an even texture. It's important to strike a balance; a dough left to rest too long at room temperature could become overly relaxed and sticky, making it difficult to work with. As famous chef and cookbook author Madhur Jaffrey once mentioned, "The dough should feel soft to the touch, almost like a well-rested face that has just had a good night's sleep."
A quick note on experimentation—if you're venturing into the world of soft dough for the first time, try dividing your dough into portions and resting them for varying lengths of time to see what duration works best for your taste and style. It might surprise you how subtle adjustments can affect the final outcome, proving there's always room to refine this age-old practice. Whether you're preparing a feast for family or simply perfecting your craft, understanding the importance of dough resting can transform your approach to roti, ensuring every bite is a tender and flavorful experience.
Cooking Tips for Soft Roti
Preparing a soft roti is not just about the dough; cooking methods play a crucial role in achieving that desired tenderness. First and foremost, the temperature of your cooking surface is vital. The tawa—a round, flat iron skillet used traditionally—is the tool of choice for many. Ensure the tawa is hot but not smoking when you place the roti on it. A well-heated tawa will cause the roti to cook evenly, allowing it to puff up beautifully, which is a sign of perfect cooking. Start by maintaining a medium to high flame initially and adjust as needed. As the roti touches the surface, tiny bubbles will form, signaling that the heat is evenly distributed.
Flipping the roti at just the right moment is key to ensuring it remains soft. Wait until you see changes in color and texture, usually when the roti begins to show small brown spots, before flipping it over. Use a clean cloth or a spatula and press gently around the edges to encourage the puffing process. Experienced cooks often use their hands directly, with caution, for better control. The idea is to cook both sides evenly without losing moisture. Overcooking is a common mistake. It leads to a dry, hard roti, so aim for a cooking time of about one minute per side.
Another important aspect is brushing the roti with a light coat of ghee or butter right when it comes off the tawa. This not only enhances flavor but also helps in retaining the roti's softness. A little fat added at this stage locks in moisture and provides a delightful aroma, making the flatbread more appetizing. Seasoned chefs often claim, "the magic lies in that final touch of fat," and their generations of practice attest to this simple yet effective technique.
Timing and rhythm when making several rotis in quick succession can improve the softness of your roti. Preparing rotis ahead of time for a large gathering? You'll want to keep them covered in a kitchen towel or a casserole lined with foil to keep the steam in. This approach prevents them from drying out while you finish cooking the entire batch. The warmth of freshly made rotis helps them stay tender and pliable for a longer period. If data is to be believed, research shows that storing rotis wrapped properly can maintain their softness for up to two hours after cooking.
In terms of presentation, some enthusiasts argue that you should always rest the cooked roti for a few moments on a cooling rack rather than straight in an enclosed space. This method prevents condensation from making your rotis soggy. Consider trying out various techniques to discover which resonates best with your taste and texture preferences. Ultimately, a bit of practice and attention to detail will make your roti-making an effortless and satisfying endeavor, providing each meal with an authentic touch of homemade delight.