Roti Cooking Simulator
Learn the perfect technique for soft, puffy rotis by following the correct heat progression. Click each stage to see the specific instructions and visual cues.
Setting Surface
Medium-High HeatSteam Generation
High HeatDirect Puffing
Max/Direct FlameVisual Cues & Actions
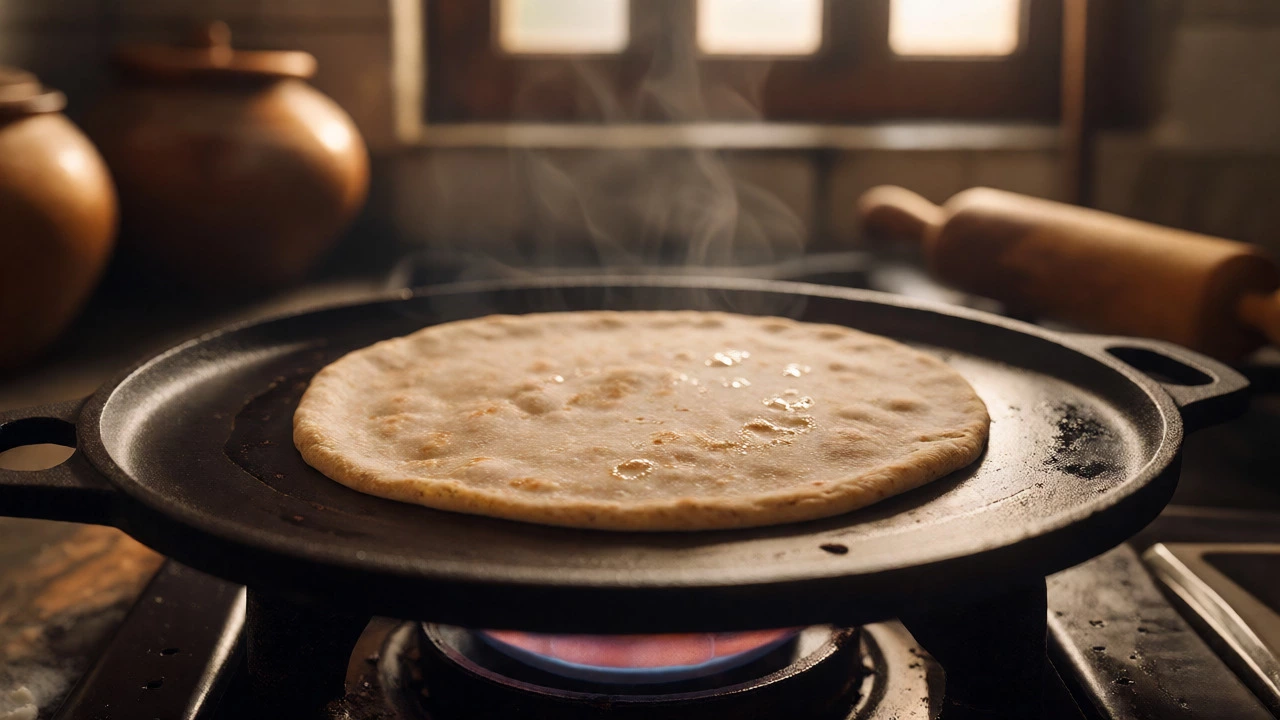
Place roti on tawa. Watch edges turn from translucent white to opaque matte. Small bubbles may form. Do not press down.
Why This Matters
At medium-high heat, we set the structure without burning it. If too hot, proteins coagulate instantly creating a brittle crust that cracks when flipped. If too cool, steam escapes slowly, preventing a puff.
You’ve spent twenty minutes rolling out dough until your arms ache. You place the Roti onto the hot Tawa, wait ten seconds, flip it, and then... nothing. It stays flat. Or worse, it burns black on one side while remaining raw and doughy in the center. This isn’t bad luck; it’s physics. The question of whether to cook roti on high heat is actually a two-part puzzle that most home cooks get wrong because they treat the first side and the second side the same way.
The short answer is yes, but only for half the process. If you keep the flame low from start to finish, you end up with a hard, dry disc that tastes like cardboard. If you blast it with maximum heat immediately without pre-cooking the surface, you get burnt spots before the steam has a chance to puff it up. Getting that perfect, soft, puffy phulka requires managing heat transfer through three distinct stages: setting the structure, generating steam, and charring the exterior. Let’s break down exactly how to handle the fire so your next batch doesn’t turn into frisbees.
The Physics of Puffing: Why Steam Needs Space
To understand why heat matters, you have to look at what happens inside the dough. A standard roti consists of Atta (whole wheat flour), water, and sometimes salt or oil. When you roll this dough, you trap small pockets of air and moisture within the gluten network. As the roti hits the heat, that moisture turns into steam. Since steam takes up about 1,600 times more space than liquid water, it desperately wants to expand. But the outer layer of the roti is drying out and hardening due to the heat. If the outside hardens too fast, the steam can’t push through, and the roti stays flat. If the outside hardens too slowly, the steam escapes through the porous surface instead of inflating the bread.
This balance is delicate. You need enough heat to create a pressure differential that forces the steam to expand outward, lifting the top layer of the dough away from the bottom layer. This separation creates the hollow pocket that defines a well-made phulka. Without sufficient thermal energy, the starches in the flour don’t gelatinize quickly enough to hold that shape, resulting in a dense, heavy texture that weighs down your meal rather than complementing it.
Stage One: Setting the Surface (Medium-High Heat)
When you first place the rolled roti on the tawa, do not crank the burner to its maximum setting. Start with medium-high heat. Why? Because the initial contact needs to set the structure of the bread without burning it. If the tawa is screaming hot when the cold, wet dough touches it, the proteins on the surface coagulate instantly, creating a brittle crust that cracks easily when you try to flip it. Furthermore, extreme heat at this stage causes uneven browning. You’ll see dark leopard spots appear in seconds, but the interior remains raw.
Aim for a temperature where a drop of water sizzles and evaporates within 2-3 seconds on the tawa surface. Place the roti down gently. Watch the edges. After about 20 to 30 seconds, you will notice the color change slightly-it goes from translucent white to an opaque matte finish. Small bubbles might begin to form on the top surface. These bubbles are crucial. They indicate that steam is starting to build up underneath. Do not press the roti down with a spatula during this phase. Pressing releases the steam you’re trying to trap, deflating the potential puff before it even begins.
Stage Two: The Flip and Steam Generation (High Heat)
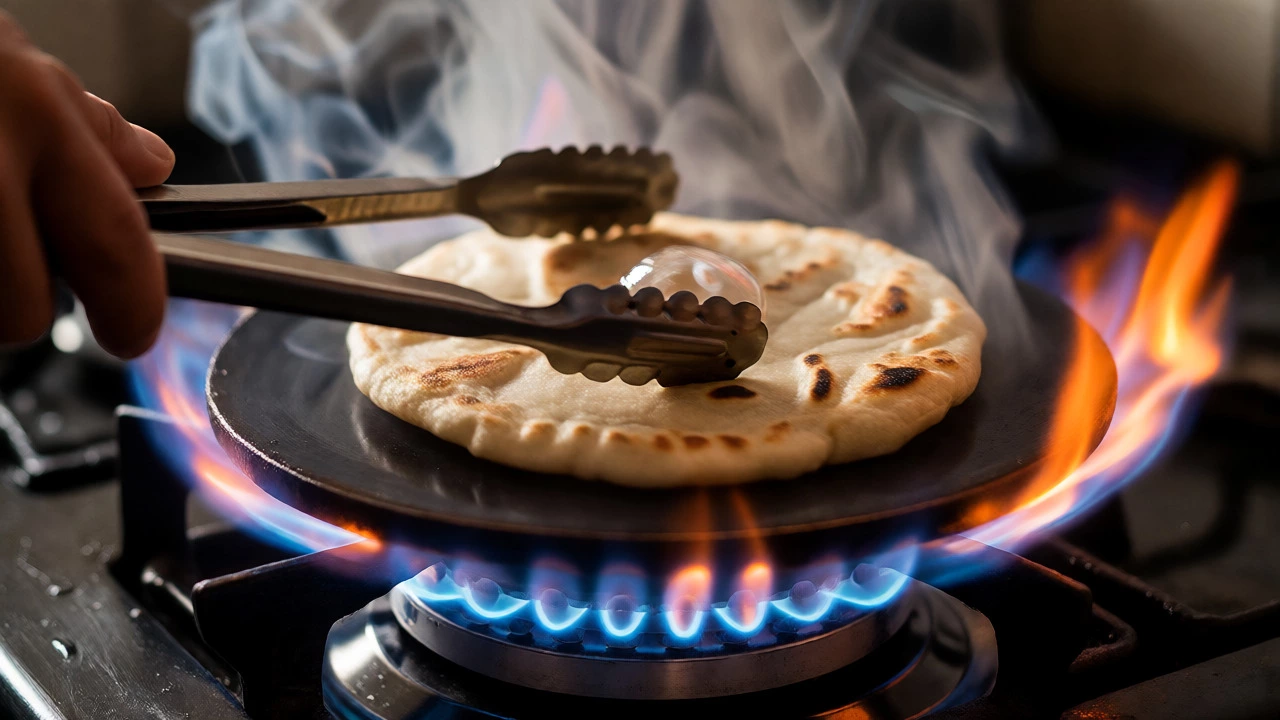
Once the first side has developed those tiny bubbles and the matte appearance, it’s time to flip. This is where many people hesitate, but speed is key here. Flip the roti over. Now, the previously cooked side is facing the heat source. This side acts as a seal, trapping the steam generated by the raw side above. At this point, you should increase the heat to high if you haven’t already. The goal now is rapid steam generation.
The raw side, now exposed to the air (or technically, the underside of the roti), needs to cook quickly so the steam expands upward. You’ll see larger bubbles forming. If you’re using a gas stove, this is the moment to prepare for the final step. If you’re using an electric induction cooktop, you might not see the dramatic puffing as clearly because you can’t move the roti directly into the flame, but the principle remains: high heat drives the expansion. Keep the roti moving slightly or ensure the tawa is evenly heated to prevent localized burning while the steam builds pressure.
Stage Three: Direct Flame Exposure (Maximum Heat)
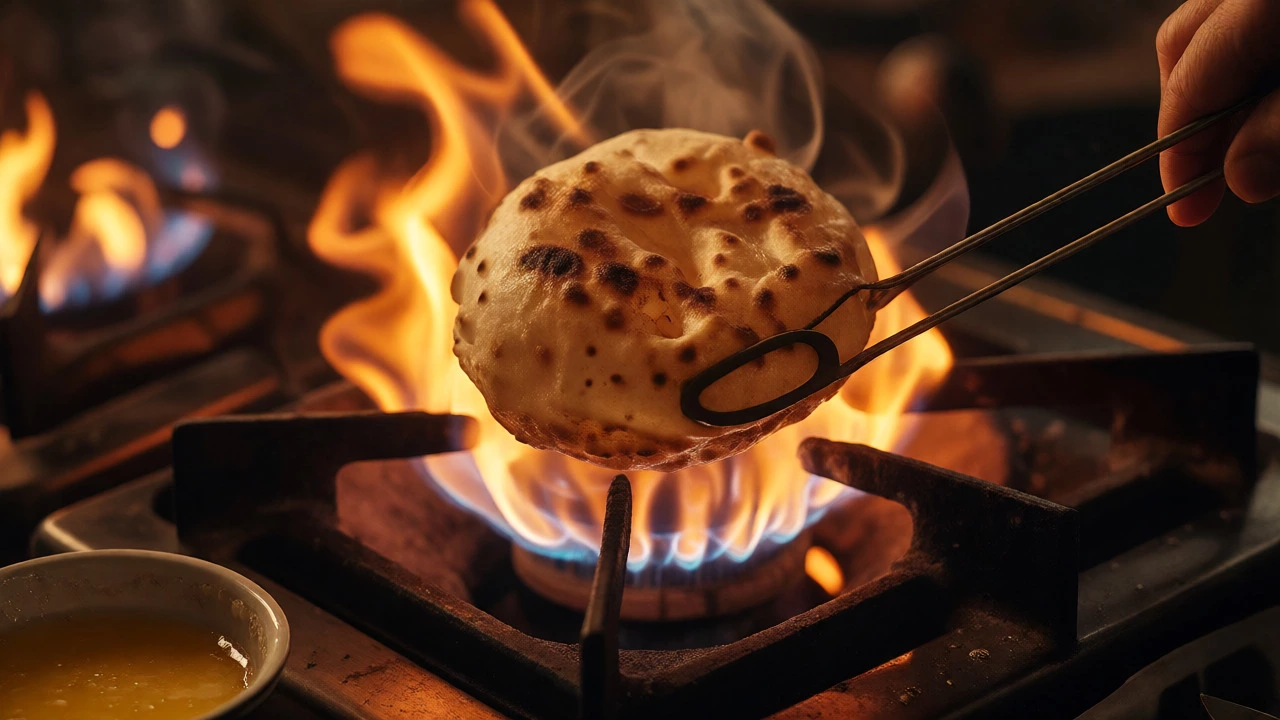
For the classic puffed phulka, the third stage is non-negotiable. Once the second side shows slight browning and the bubbles are prominent, lift the roti off the tawa and place it directly onto the open gas flame. Yes, directly on the fire. Use tongs to hold it there. This direct exposure provides intense, immediate radiant heat that bypasses the thermal mass of the metal tawa. Within 5 to 10 seconds, the trapped steam expands violently, pushing the layers apart and causing the roti to balloon into a sphere.
If you don’t have a gas flame, you can use the back of the tawa held close to the element, or simply let it sit on the highest setting for a few extra seconds, though the result won’t be quite as airy. The direct flame also adds a subtle smoky flavor, known as "dhungar" effect, which is characteristic of traditional Indian cooking. Watch closely-this happens fast. If you leave it too long, the char becomes bitter. Once it puffs, remove it immediately and brush it with ghee or butter. The fat stops the steam from escaping through the pores, keeping the roti soft for hours.
| Stage | Heat Level | Duration | Visual Cue | Action |
|---|---|---|---|---|
| Setting | Medium-High | 20-30 Seconds | Opaque color, tiny bubbles | Do not press; watch edges |
| Steaming | High | 20-30 Seconds | Larger bubbles, light brown spots | Flip once; maintain heat |
| Puffing | Direct Flame/Max | 5-10 Seconds | Rapid expansion/puffing | Move to flame; apply ghee |
Common Mistakes That Ruin Your Heat Strategy
Even with the right flame settings, other factors can sabotage your effort. The most common culprit is the thickness of the dough. If your roti is rolled too thick, the heat cannot penetrate to the center before the outside burns. Aim for a thickness of about 2-3 millimeters. Thinner rotis puff easier because the steam path is shorter. Conversely, if it’s too thin, it dries out instantly and becomes crisp like a papadum rather than soft like a roti.
Another issue is the quality of the flour. Whole wheat flour (Chakki Fresh Atta) absorbs water differently than refined flour. If your dough is too dry, there isn’t enough moisture to generate significant steam. If it’s too sticky, it tears when flipping. The ideal dough feels like an earlobe-soft, pliable, and smooth. Resting the dough for at least 20 minutes before rolling allows the gluten to relax, making it easier to roll thinly without shrinking back, which ensures even heat distribution.
Finally, consider your equipment. A cast iron tawa retains heat better than a thin steel tawa, providing a more consistent cooking environment. However, cast iron takes longer to heat up. If you switch between burners or cook large batches, ensure your tawa returns to temperature before placing the next roti. A cold spot on the tawa will cause the roti to stick and tear, ruining the steam seal.
Adjusting for Different Cooking Methods
Not everyone cooks on a gas stove. If you are using an induction cooktop, you lack the open flame option. To compensate, use a heavy-bottomed kadai or a thick tawa. Preheat it thoroughly on the highest setting. You may need to cover the tawa with a lid for the last 10 seconds of cooking to trap heat and mimic the oven-like environment that helps puffing. Alternatively, some induction users use a wire rack placed over the coil to simulate direct flame exposure, though this requires careful monitoring to avoid scorching.
Electric griddles offer even heating but often lack the peak temperatures needed for rapid puffing. In this case, patience is key. Allow the roti to stay on the griddle slightly longer on each side to ensure the internal steam builds up sufficiently. You might not get a massive balloon-like puff, but you will get a soft, layered bread if you manage the moisture loss correctly by brushing with oil early.
Troubleshooting Your Roti Texture
If your rotis come out hard, check your resting time after cooking. Did you stack them in a cloth-lined basket? Trapping the steam keeps them soft. If they were left exposed, they dried out. If they are chewy, you likely undercooked them. The starches didn’t fully gelatinize, leaving a gummy texture. Increase the cooking time slightly or lower the heat to allow thorough penetration.
If they are burnt on the outside but raw inside, your heat was too high initially. Revert to the medium-high start method. If they don’t puff at all, check your dough hydration. Add a teaspoon of oil to the dough next time; fat coats the gluten strands and prevents excessive gluten development, leading to a tender crumb that puffs more easily.
Can I make roti on low heat?
You can, but the result will differ significantly. Low heat produces a crispy, dry roti similar to a tortilla or papadum. It will not puff up because the steam escapes slowly rather than building pressure. This method is useful if you want a crunchy snack rather than a soft accompaniment for curries.
Why does my roti burn before it puffs?
This usually happens if the tawa is too hot when you place the roti down, or if the roti is too thin. The surface carbonizes before the internal moisture turns to steam. Try starting on medium-high heat to set the structure, then increase heat only after the first flip.
Does adding oil help roti puff?
Yes, adding a small amount of oil or ghee to the dough helps. It lubricates the gluten strands, making the dough more elastic and less prone to tearing. It also slows down moisture loss, allowing steam to build up effectively before the bread hardens completely.
How do I know if my tawa is ready?
Sprinkle a few drops of water on the tawa. If they sizzle and evaporate within 2-3 seconds, it’s ready for the first side. If they dance around for a long time, it’s too cool. If they vanish instantly with no sound, it’s too hot.
Should I use a gas or electric stove for roti?
Gas stoves are preferred because they allow direct flame exposure, which is the most reliable way to achieve a full puff. Electric and induction stoves work well for setting and steaming but require tricks (like covering with a lid) to encourage puffing since they lack direct radiant flame access.