Fluffy roti can feel like some secret only grandmas know, but it isn’t actually that mysterious. It starts with the basics: flour, water, and a bit of know-how. The truth? A lot of the mistakes aren’t about fancy ingredients, but about things like how you mix your dough, or how you treat it once it’s kneaded.
If your rotis turn out tough or flat, you’re probably not alone. Most people use too little water or rush the kneading, which means your dough never gets the soft texture you’re after. Add a bit more water next time—the dough should feel almost sticky before you let it rest. That rest also matters, because it lets the gluten relax, making your roti pillow-soft instead of chewy.
- Why Roti Gets Hard: The Hidden Culprits
- The Power of Flour: Picking and Mixing
- Kneading and Resting: Where Magic Starts
- Rolling and Cooking: Small Moves, Big Impact
- Keeping Roti Fluffy: After It Leaves the Pan
Why Roti Gets Hard: The Hidden Culprits
Ever wondered why your roti sometimes turns out dull and tough, when you’re shooting for that soft, puffy magic? It usually comes down to a few simple mistakes that almost everyone makes, especially when rushing or guessing the method.
The main reason roti gets hard is not enough moisture. If your dough isn’t sticky at first, you’re probably holding back on the water, worried the dough will get out of hand. But that's actually where the fluffy roti secret lies—a moist, well-rested dough gives way softer bread.
- Over-mixing or under-kneading are both sneaky problems. Not kneading enough means the gluten isn’t developed, so you end up with crumbly roti. Going overboard? You squeeze out air, and it gets dense.
- Using cold or old flour can be a letdown. Whole wheat atta loses its stretch as it ages, especially if it’s stored somewhere humid. Fresher flour absorbs water better and leads to soft dough.
- Cooking on low heat is another big culprit. Slow cooking dries the surface and makes it chewy. You need your pan to be hot so the roti cooks fast and the inside stays moist.
- Too much pressure while rolling pushes all the air out, so the rotis don’t puff or stay light. Keep your rolling gentle and even.
| Common Mistake | Effect on Roti |
|---|---|
| Less water in dough | Hard, dry texture |
| Tight or overworked dough | Doesn't puff, feels chewy |
| Cold/old flour | Lacks flexibility, tough roti |
| Cooking on low heat | Surface dries, no flakiness |
If you’re always ending up with flat, hard rotis, swap one habit at a time. Start with the dough moisture—it’s usually the silent deal-breaker. You’ll be surprised how much of a difference that alone can make.
The Power of Flour: Picking and Mixing
If your goal is a fluffy roti, flour choice matters way more than you'd think. Start with whole wheat flour, usually called 'atta' in Indian stores. This flour is soft-milled, so it keeps the right balance of bran and starch. If you use regular all-purpose flour, your roti might turn out flat or rubbery. Don't go for super-fine 'cake' flours either—those don't have enough body.
Some recipes say to mix in a spoon or two of white flour for extra softness, but honestly, good atta gets the job done for most people. The brand can make a difference. For example, 'Aashirvaad' and 'Pillsbury Chakki Fresh Atta' are known for producing softer breads. You might have to try a couple to see what works best for your water and weather.
Now, let’s talk ratios. The standard trick is about one cup of whole wheat flour to just under half a cup of water. But this shifts if your kitchen is really dry or humid. Keep some extra water nearby—adding a spoonful at a time won't hurt. Once you combine everything, mix by hand for more control. If it feels tough, drip in more water. Dry, crumbly dough is enemy number one on your soft roti journey.
| Flour Type | Texture Result | Best For |
|---|---|---|
| Whole Wheat Atta | Soft, fluffy | Traditional roti |
| All-Purpose Flour | Dense, less rise | Poori, paratha (not roti) |
| Cake Flour | Too soft, tears easily | Not recommended |
If you want to mix it up, add a little milk or yogurt to your dough for richer, softer results. Some even toss in a pinch of salt or oil, but don’t let that replace good kneading and proper flour. Getting this step right sets you up for that perfect puff every time.
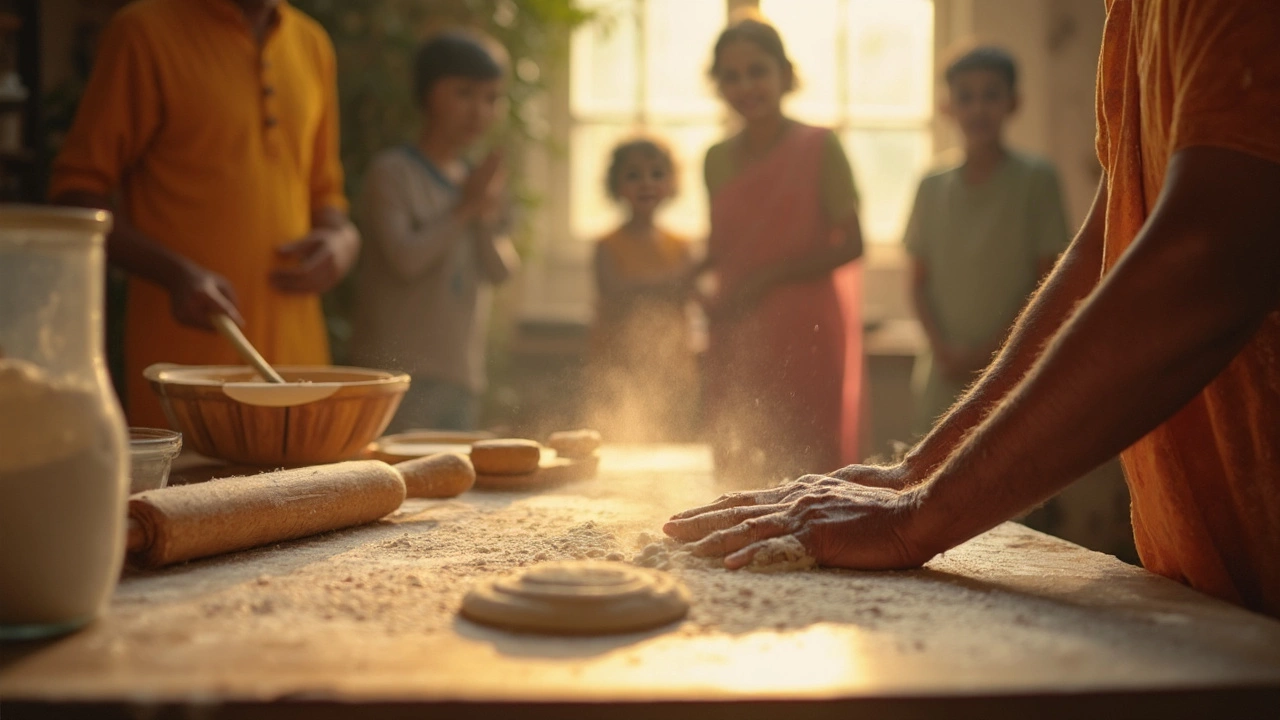
Kneading and Resting: Where Magic Starts
Kneading is where the dough gets its character, and yes, skipping or rushing this step is a surefire way to end up with dense, sad-looking roti. The goal is a smooth, stretchy dough that almost bounces back when you poke it. This isn’t about brute force—it’s about making sure the water and flour really marry together. Use your knuckles to press the dough and fold it over itself, repeating for at least eight to ten minutes. Less than that, and you’re cheating yourself out of those perfect, fluffy roti.
Here’s a tip: the dough should feel tricky at first, maybe even sticky. That’s good. Resist the urge to keep adding more dry flour. As you knead, the stickiness vanishes, leaving you with soft dough.
- For every cup of flour, add water little by little. Stop when the dough just holds together without oozing, but is still a touch sticky.
- Knead for 8-10 minutes—don’t rush. Set a timer if you need to.
- Add a teaspoon of oil at the end of kneading, and give it a last quick mix. This keeps the dough moist and easier to roll out later.
Now, don’t skip resting. Cover the dough with a damp cloth and let it sit for at least 20-30 minutes. This downtime lets the gluten relax, which makes the dough easier to roll and helps it puff when cooking. Even a quick rest makes a difference, but if you can spare an hour, go for it. Many home cooks swear by a double rest: fifteen minutes rest, light re-knead, then another rest. It might seem like a hassle, but you’ll feel the payoff when your roti starts ballooning on the pan.
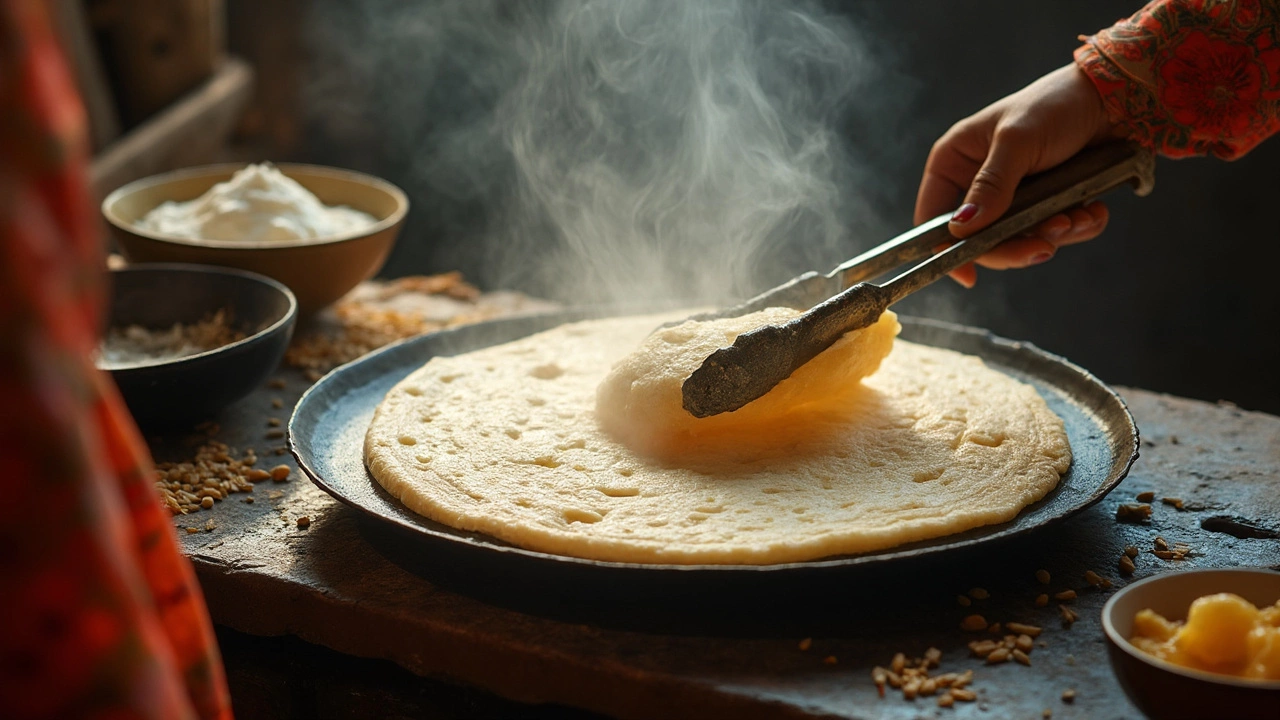
Rolling and Cooking: Small Moves, Big Impact
When it comes to getting that fluffy roti, how you roll and cook it is make-or-break. First up, size and thickness matter. You want to roll your dough balls into circles that are about six inches wide—don’t make them too thick or they won’t puff, too thin and they’ll dry out. Use just enough dry flour on your rolling surface to keep things from sticking, but don’t overdo it, or your roti gets tough.
Here’s a trick: don’t press down too hard with the rolling pin. Light, even pressure gives you an even shape which puffs more easily when it hits the hot pan. And speaking of the pan (tava), it need to be screaming hot. If it isn’t, your roti just sits there and bakes instead of puffing up. Splash a bit of water on the pan—if it sizzles right away, you’re good to go.
When you drop your rolled roti on the pan, let it cook until you see bubbles on top. Flip once, and after a few seconds, press gently with a clean towel or spatula, especially around the edges. This little trick helps push steam into the center, which makes the roti balloon up. For gas stovetop users, try placing the cooked roti right on the flame for a second or two—it puffs up like magic.
- Roll evenly, not too thin or thick
- Keep the pan very hot
- Flip only once for best results
- Press lightly on the edges with a towel or spatula to help it puff
- Optional: Use the open flame for extra puffiness
Don’t walk away during this step—overcooked roti dries out fast, and undercooked ones stay doughy. Practice makes perfect, but once you see that roti balloon, you’ll be hooked.

Keeping Roti Fluffy: After It Leaves the Pan
The job’s not over just because you see your roti puff up on the pan. If you want your fluffy roti to stay soft all the way through mealtime, what you do right after cooking is just as important as everything before.
The biggest mistake? Letting them sit out in the open. As soon as the roti is cooked, trap the steam inside by putting it in a covered container or wrapping it in a clean kitchen towel. This keeps moisture in, stopping it from drying out and turning hard.
For families that eat together, stacking is fine—but do it the right way. Stack the rotis on top of each other and keep them covered. The heat and steam from the stack work together to keep even the last roti soft until the end.
- Cover freshly cooked roti immediately.
- Use a soft cloth or insulated roti box.
- If you’re expecting to eat much later, wrap in a towel and keep inside a casserole dish.
- Avoid storing rotis in plastic bags if they’re hot, as this can create too much condensation.
This isn’t just old advice from the kitchen—thermal insulation matters. According to side-by-side comparisons done at home and in cooking classes, rotis stored in insulated containers kept their softness nearly twice as long as those left out uncovered.
| Storage Method | Rotis Remain Soft (minutes) |
|---|---|
| Uncovered Plate | 10 |
| Cloth Wrapped | 25 |
| Insulated Box | 45+ |
Got leftovers? Don’t just microwave them dry. Sprinkle a few drops of water over the roti, cover with a damp paper towel, and reheat for a few seconds. The result is way closer to that straight-from-the-pan softness everyone loves.