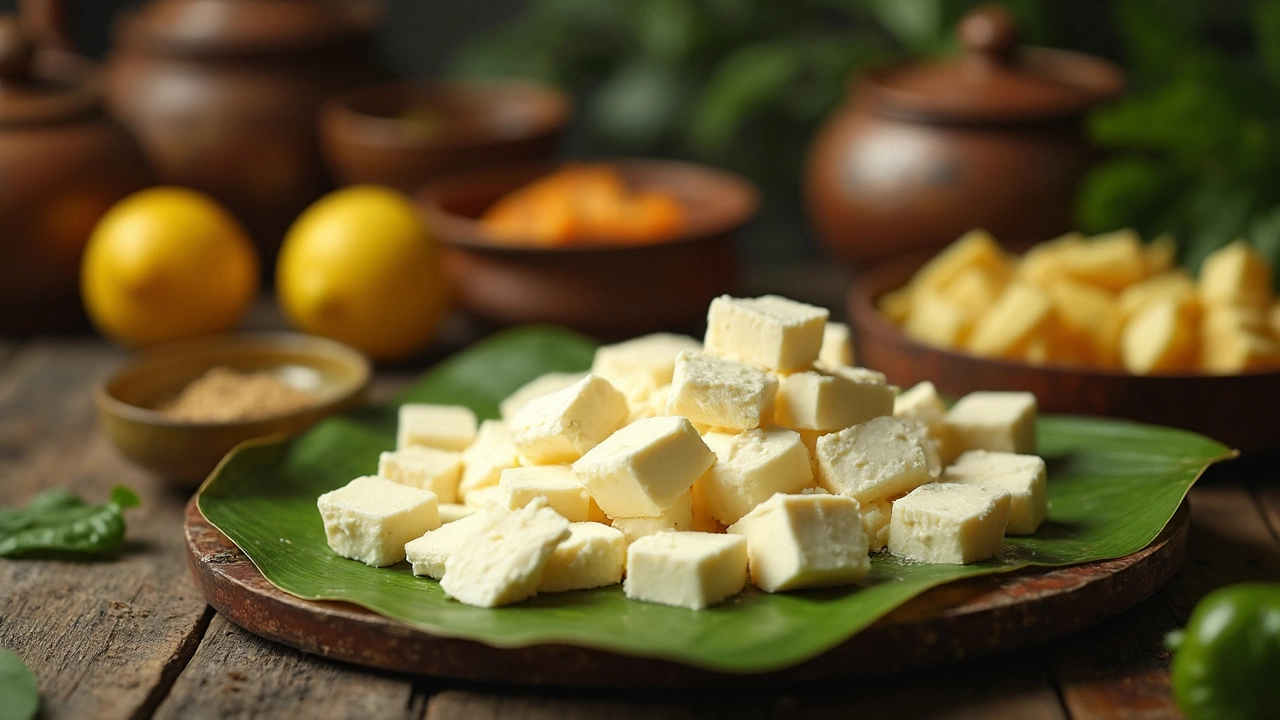
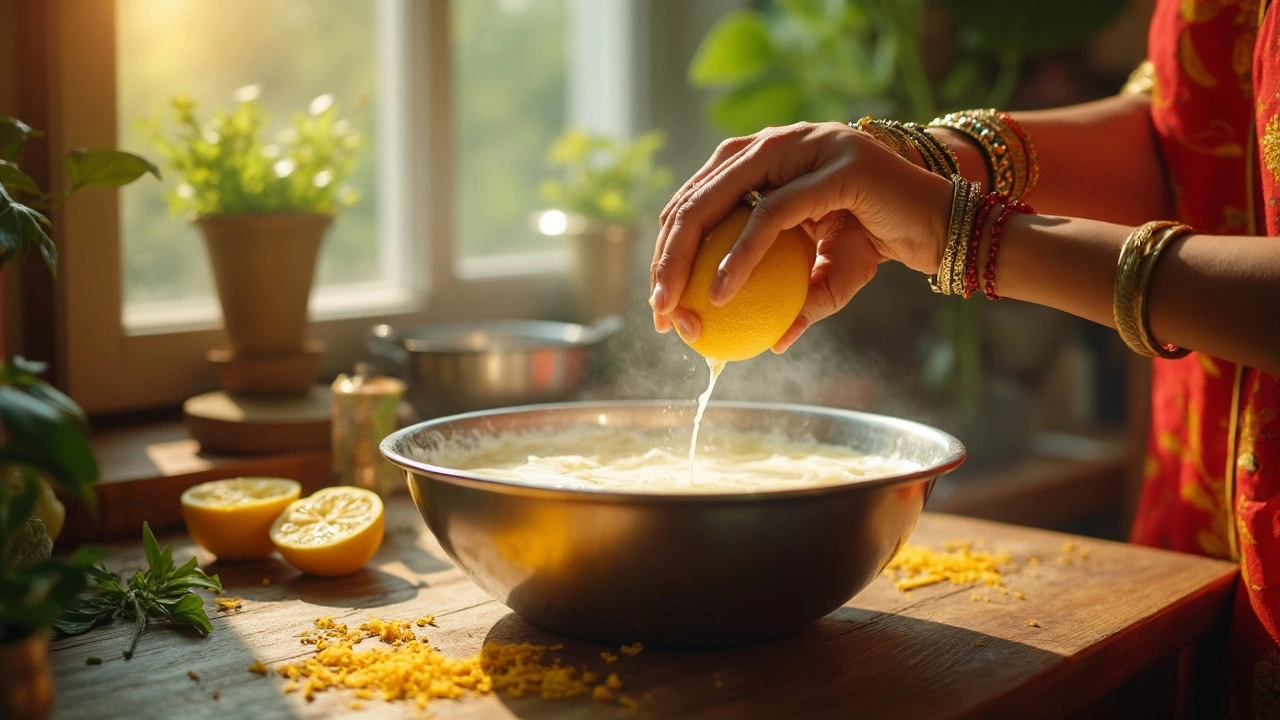
Ever wondered why adding lemon juice to milk makes it curdle? It's not just magic—there's actual science behind it. When you pour that citrusy goodness into your milk, the acid in the lemon juice messes with the milk's proteins and causes them to clump together, forming curds. This is the start of what will soon become delicious paneer, a fresh cheese that's super versatile in cooking.
Now, if you’re thinking curdling sounds like a kitchen disaster, think again. It’s actually how cheese begins! This is a pretty neat trick for those who love homemade stuff, and there's a bonus: it’s as simple as using ingredients you probably already have around the house. So, let’s dig into why this happens, a bit beyond the lemon-milk drama, and explore how you can make fresh paneer right in your kitchen.
- The Science Behind Curdling
- Role of Lemon Juice
- Step-by-Step Guide to Making Paneer
- Common Mistakes to Avoid
- Tips for Perfect Paneer
- Creative Uses for Your Paneer
The Science Behind Curdling
Okay, so let's get into why lemon juice gets milk all curdly. It's like magic, but really, it's down to chemistry. Milk is jam-packed with proteins called casein. Now, picture them just hanging out, suspended in the milk, having a chill time because the milk is naturally a bit acidic (not too much, though). When you toss in something super acidic like lemon juice, it messes with this balance.
Here's what happens: the acid from the lemon juice attacks the milk’s neutral pH, dropping it lower. When this pH level hits around 4.6, the casein starts freaking out and sticks together, forming curds. This is exactly what happens when milk 'goes sour' naturally—minus the nasty smell.
And those curds? They're the basis for homemade paneer and lots of other cheeses. Imagine proteins being pushed and pulled until they clump up. It's kind of a chaotic protein party, really. While it smells funky at first, draining and pressing these curds turns them into that creamy, crumbly goodness we all love.
Wanna know something cool? The milk fats also play a role in how creamy your paneer turns out. The percentage of fat in milk influences the curdling process. Whole milk, with all its fat glory, gives you richer, tender curds, perfect for paneer. If ever curious, you can play around with different kinds of milk to see how the texture changes. Science experiments in your kitchen!
Role of Lemon Juice
So, why does lemon juice work like some sort of magic wand for curdling milk? It's all about the acid. Lemon juice is packed with citric acid, and when this acid hits milk, it lowers the milk’s pH level. This change in pH causes the milk proteins, mainly casein, to separate from the liquid part of the milk, creating those famous curds.
What's cool is that this isn’t just a cool science experiment—it’s the basis for making homemade paneer. By curdling the milk, you get a fresh cheese that can be pressed and cut into cubes for your favorite dishes. And unlike some complex cheese-making methods that require special enzymes, using lemon juice is straightforward and accessible.
When using lemon juice, the timing and amount matter. Too little, and you won't get enough curd formation; too much, and you might end up with cheese that tastes overly tangy. Typically, for one liter of milk, about 2-3 tablespoons of lemon juice will do the trick. But hey, it can depend on how acidic your lemons are, so don't be afraid to experiment a bit.
Once the curds form, you'll usually let them sit and settle, giving you time to get another cup of coffee (or tea, no judgment here). Then, it's about straining and pressing out the excess whey so you get a firm block of paneer, ready to cook up into something tasty. Remember, using lemon juice not only starts the curdling but adds a bit of a tangy hint to your paneer, making your culinary adventure even more interesting.
Step-by-Step Guide to Making Paneer
Getting started on homemade paneer is easier than you might think. With just a few ingredients and steps, you'll be impressing your taste buds in no time! Here's how you do it.
- Gather Your Ingredients: You'll need a liter of fresh milk (whole milk works best for creamy cheese) and about 2-3 tablespoons of fresh lemon juice.
- Heat the Milk: Pour the milk into a big pot and heat it over medium flame. Stir occasionally to prevent it from sticking to the bottom. Keep an eye on it until it just starts to boil.
- Add the Lemon Juice: Once the milk starts to bubble, you can add the lemon juice. Stir slowly and gently until you see the milk curdling—those are your curds and whey separating.
- Let It Settle: Turn off the heat and let it sit for about 10 minutes. This allows the curds to better form and settle.
- Strain the Curds: Grab a clean cheesecloth or a thin kitchen towel. Pour the entire mixture through this over a large bowl or sink to catch all the whey.
- Shape the Paneer: Gather the edges of your cheesecloth and press it gently to form a block. Place it under something heavy to get that firm paneer texture. Let it sit for at least an hour.
And voila, you've got your homemade paneer! Give it an extra spin by tossing in a pinch of salt or even some herbs before pressing if you’re in the mood for an adventurous flavor twist.
| Ingredient | Amount |
|---|---|
| Whole Milk | 1 Liter |
| Lemon Juice | 2-3 Tbsp |
Remember, once your paneer is pressed and ready, the real fun begins. You can use it in so many recipes, from curry to salads, making it as versatile as it is tasty!

Common Mistakes to Avoid
Making homemade paneer is pretty straightforward once you get the hang of it, but there are a few common pitfalls that can turn your cheesy dreams into a curdled mess. Let’s zero in on some mistakes you’ll want to dodge.
One of the biggest goofs is using old milk. For the love of cheese, always go fresh! Sour or spoiled milk will ruin your paneer before you even start. Freshness is key because the proteins in the milk need to react right with the lemon juice.
Another common slip-up? Using too much lemon juice. While it’s true that acid is what makes the milk curdle, going overboard can leave your cheese tasting sour. Start with a couple of tablespoons and add more only if you need it.
Temperature matters too. Heating your milk too fast or too hot can make it scorch, and believe me, you don’t want burned milk sticking around. Aim for a gentle heat and bring your milk up to a simmer slowly. When you see small bubbles around the edges, you’re good to go.
Finally, don’t skip the draining process. After your milk curdles, let the curds and whey sit for a bit; it makes all the difference. Then, use a muslin or cheesecloth to drain the whey. If you squeeze too hard or drain for too long, you'll end up with crumbly paneer instead of the soft, creamy delight you’re aiming for.
- Use fresh milk: Old or sour milk won’t play nice with lemon juice.
- Measure your acid: Stick to the needed amount to avoid sourness.
- Heat carefully: Avoid scorching by heating slowly.
- Proper draining: Don't over-squeeze your paneer.
By keeping these practical tips in mind, you're well on your way to making perfect paneer every time. Ready to get your cheese game on? Go ahead, try these tips and watch your kitchen become a mini cheese factory!
Tips for Perfect Paneer
Making homemade paneer isn't just about the technique. You want that soft, melt-in-the-mouth texture. Here are some solid tips that'll have you crafting perfect paneer every time.
- Choose the Right Milk: Always go for full-fat milk when making paneer. Skim milk just doesn't cut it if you're aiming for that creamy, rich texture.
- Control the Heat: Keep an eye on that stove! When heating milk, medium heat is your friend. It prevents scorching and helps milk heat evenly.
- Use Fresh Lemon Juice: Sure, store-bought lemon juice is convenient, but fresh lemon juice has the right amount of acidity and no preservatives. It ensures your milk curdles perfectly.
- Stir Gently: Once you've added your lemon juice, slow and steady wins the race. Stir gently to help those curds form but don't overdo it, or you risk breaking them up too small.
- Let It Rest: Give your curdled mixture some downtime. Let it sit for about 10 minutes. This improves curd separation and yields more paneer.
- Press Correctly: When you strain and press your paneer, use a cheesecloth or muslin. Place something heavy on top and let gravity work its magic. A few hours of pressing will give you that perfect block shape.
Once you've nailed down these tips, you'll be ready to make some amazing dishes with your delicious paneer. Want to try it tonight? How about a creamy paneer tikka or maybe a savory paneer curry? Dive into these rich flavors and enjoy the magic you've made with a simple trick using lemon juice.
Creative Uses for Your Paneer
Got some fresh paneer and wondering what to do with it? You're in for a treat because paneer is incredibly versatile and can jazz up your culinary adventures in so many ways. Whether you're whipping up a hearty meal or just a quick snack, paneer proves itself to be a real kitchen MVP.
First off, let's talk about the classic homemade paneer curry. Everyone loves a good paneer butter masala or palak paneer. These dishes have a rich sauce that coats the paneer cubes, making them flavor-packed. If you're in the mood for something spicy, try a paneer tikka. Just marinate the paneer cubes in yogurt and spices, then grill them. So good!
But paneer isn’t just for curries or grilling. Have you ever tried paneer in a wrap or sandwich? It pairs well with some fresh veggies and chutney in a warm wrap. Also, crumble it up in salads for a protein boost or mix it with some spinach and stuff it into pastry for delicious turnovers.
For those with a sweet tooth, why not try some paneer-based desserts like rasgulla or kalakand? These are traditional Indian sweets that show just how sweet and satisfying paneer can be.
- Paneer Butter Masala - Creamy, tomato-based curry.
- Palak Paneer - Spinach and paneer delight.
- Paneer Tikka - Spicy grilled paneer cubes.
- Paneer Wraps - Perfect for a quick lunch.
- Paneer Pastry - Stuffed often with spinach or spices.
- Paneer Desserts - Sweets like rasgulla and kalakand.
Don’t let that lemon juice and milk effort just sit in the pan. Turn your paneer into breakfast, lunch, or even dessert! It’s practically begging to be part of your next meal.
