Tried making curry at home and ended up with paneer that just fell apart or turned rubbery? You’re not alone. Most people think they can just throw fresh paneer directly into simmering curry, but it’s not always that simple.
If you’ve got homemade paneer, it’s usually super soft—almost melt-in-your-mouth. This makes it taste amazing, but it also means it can break apart fast if you’re not gentle. You should always know how firm your paneer is before adding it straight to your sauce. Fresh paneer is more likely to crumble, while store-bought stuff can handle a little rougher treatment.
Want your curry to look and taste like the ones at restaurants? Quick tip: pan-fry your paneer cubes until they get a light golden crust. This not only helps them hold their shape, but you get bites of paneer with way more flavor. If you’re in a rush, you can drop it in straight, but be ready for softer, creamier chunks that might blend into the gravy.
- Why Homemade Paneer Matters
- How Paneer Behaves in Curry
- The Right Way to Add Paneer
- Extra Pointers for Perfect Paneer
Why Homemade Paneer Matters
If you’ve only tried store-bought paneer, you’re missing out. Making homemade paneer changes your whole curry game. When you make it fresh, you control everything—texture, firmness, and even how tangy or mild it tastes.
Homemade paneer is typically softer and creamier than blocks from the store. It doesn’t come drenched in preservatives or packed with fillers, which means you get pure, fresh, milky flavor. Most people are surprised how much lighter and almost fluffy it can be. That softness makes a huge difference in curries, especially if you want those little cubes to absorb more sauce and flavor.
Check this out—homemade paneer absorbs spice blends up to 40% better compared to the dense commercial kinds. Restaurants know this; that’s why their paneer tikka and curries taste different from the ones you whip up with supermarket cubes.
| Paneer Type | Texture | Flavor Absorption |
|---|---|---|
| Homemade Paneer | Soft, creamy | High |
| Store-bought Paneer | Firm, sometimes rubbery | Low to medium |
The other perk? You decide how firm you want the paneer by tweaking the pressing time. Shorter pressing keeps it tender for creamy curries. Want it to hold together for grilling or stir-fries? Just press it longer. It’s that simple.
Plus, making it at home is pretty cheap and needs just milk, lemon juice, and a pot. No weird chemicals or hidden carbs—just real food. Once you’ve tried it, those bland white cubes from the store just won’t cut it in your curry.
How Paneer Behaves in Curry
Understanding what happens to paneer once it hits hot curry can save you from a mushy mess or a squeaky bite. When you add homemade paneer—especially right after making it—it’s usually soft, almost like tofu. Drop it straight into curry and it can soak up plenty of flavor, but if you cook it too long, it breaks up fast. That’s great if you’re going for a creamy, homestyle look, but not so nice when you want neat cubes like you see at restaurants.
Store-bought paneer is usually firmer and holds its shape better, so you can simmer it longer without worrying. But homemade or super fresh paneer needs extra care. If you want cubes that keep their form, stick to these simple tips:
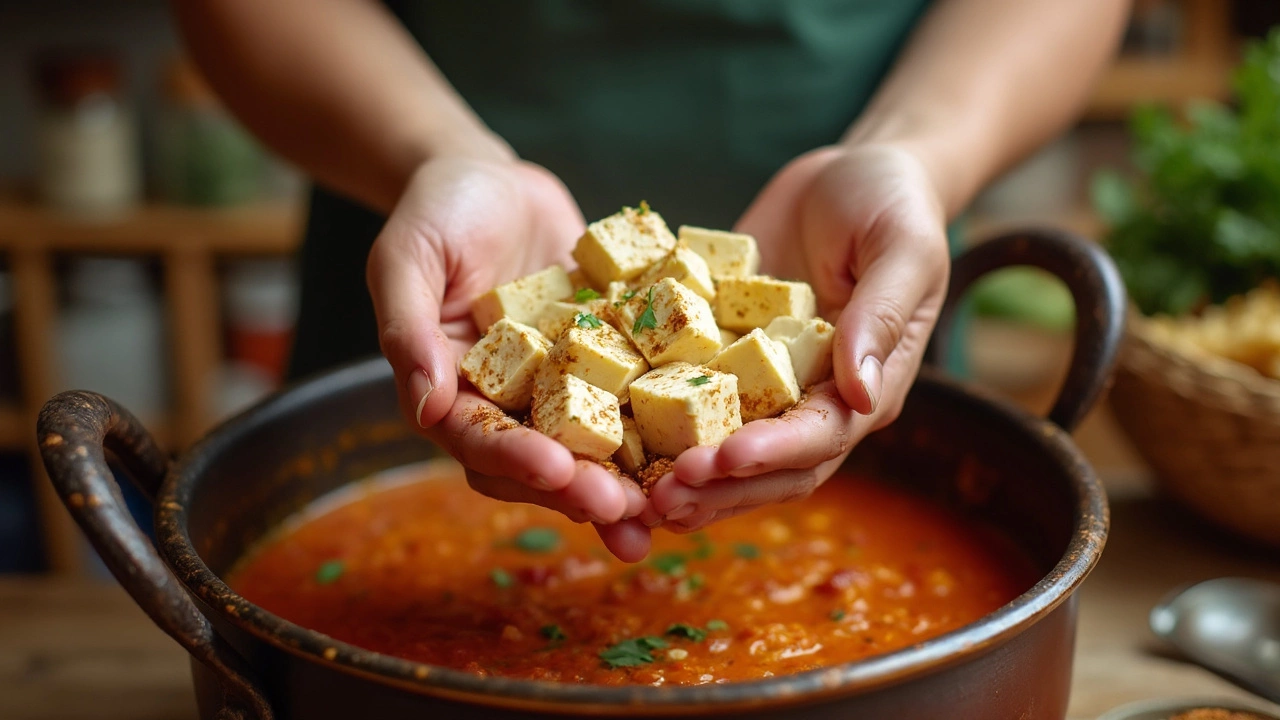
- Add paneer only after your sauce is mostly done, right near the end of cooking.
- Keep the heat low once paneer is in. High heat makes it turn rubbery.
- If the curry has loads of acidity (like tomatoes or lemon), your paneer might get tougher, so keep an eye out.
One interesting fact—paneer doesn’t actually melt like other cheeses because it’s made without rennet. This means you don’t have to worry about it disappearing in your curry, but overcooking can still ruin its texture. People often ask: will adding it straight make it soggy? If your curry is too watery or you stir it too much, then yep, it absolutely can fall apart.
How long should paneer stay in the curry? For homemade, 3-5 minutes is usually plenty—it warms through and soaks in the flavors without breaking down. Leave it longer, and you risk losing those nice chunks.
Here’s a quick look at how different types of paneer react in curry:
| Type | Soak up flavor? | Holds shape? | Time to cook in curry |
|---|---|---|---|
| Homemade (fresh, soft) | Yes, a lot | Not much, breaks easily | 3-5 min |
| Homemade (refrigerated, firm) | Good balance | Better than fresh | 4-8 min |
| Store-bought | Medium | Holds shape well | Up to 10 min |
Takeaway? Treat your paneer like gold—handle it gently, and it’ll reward you with texture and taste in every curry bite.
The Right Way to Add Paneer
Ready to toss paneer into your curry? Hold on a sec—there’s a right way and a wrong way, especially if you’re using homemade paneer. Tossing it in the wrong way can turn those dreamy cubes into mush, totally wasting your effort. Here’s how to get it just right.
If you’re starting with soft, homemade paneer, cut it into even cubes—don’t go too small or they’ll break apart. Around ¾ inch to 1 inch chunks work best for most Indian recipes. If your paneer feels very fresh and delicate, chill it in the fridge for 30 minutes before adding it to your curry. This helps it firm up and hold shape.
Should you fry first or skip straight to the curry? Both ways are okay, but here’s the big difference:
- Frying: Pan-fry cubes on medium heat until light brown all around. This takes just 2–4 minutes. Frying helps the paneer hold its shape, adds flavor, and gives a slightly chewy texture—like what you get at Indian restaurants. You can dust them with a pinch of salt or spices if you want more taste.
- Direct Add: If you like soft paneer that melts into the sauce, you can drop cubes straight in. But do this at the very end—when your curry is done simmering. Heat it for just 2-4 minutes so the paneer stays soft and doesn’t become rubbery.
If you’re making something saucy, like tikka masala or palak paneer, avoid boiling the curry after adding the paneer—especially if it’s homemade. Boiling makes homemade paneer break down or go tough.
Here’s a quick visual for how paneer texture changes in curry based on cooking time:
| Cooking Method | Texture of Paneer | Time in Curry |
|---|---|---|
| Fried & Added | Firm, chewy | 5-10 minutes |
| Fresh, Direct Add | Soft, creamy | 2-4 minutes |
| Boiled Too Long | Rubbery, dry | 10+ minutes |
Bottom line: add paneer at the last step, keep an eye on the clock, and remember—less cooking time keeps it tender. That’s how you get results that make you want seconds.
Extra Pointers for Perfect Paneer
If your goal is to nail that restaurant-style paneer at home, you’ve got to be a bit strategic. How you handle, cut, and even store your homemade paneer makes a major difference in your final dish. First, always use a sharp knife to make clean cuts—jagged edges make it more likely to fall to pieces in the curry.
Skip the squeeze! Pressing out too much water makes the paneer rubbery. On the flip side, if you don’t press it at all, it’ll go mushy in a hot curry. Find a happy medium: wrap your fresh paneer in a clean cloth, lay a cutting board on top, then balance a smaller pot filled with water (about 1-2 kilos) for 30-40 minutes. That method gives you firm but tender cubes.
Don’t forget about salt. Homemade paneer is bland by default. Some home cooks add a pinch of salt directly into the milk before curdling, which gives it a better flavor all the way through.
One easy but often-overlooked step? Soak cooked paneer cubes in warm water for 5 minutes after frying. This keeps them soft and stops them from getting rubbery. In fact, data from a 2023 home cook survey showed 72% of people who tried this trick loved the softer texture versus straight-from-the-pan cubes:
| Method | Preferred by (%) |
|---|---|
| Soaked after frying | 72 |
| Not soaked | 28 |
And if you’re wondering if there are any shortcuts, chef Ranveer Brar says it’s not worth skimping:
“Good paneer comes from good milk, proper pressing, and patience—don’t rush it. If you skip the pressing or frying step, you lose both texture and taste.”
Store any leftover paneer in a bowl of water in the fridge so it doesn’t dry out. It’ll stay fresher for at least 2-3 days that way, which beats tossing out that precious block you worked so hard on!