If you’ve ever tried your hand at making dosa, you’ve probably wrestled with the question: do you let the batter ferment all on its own, or do you take some creative liberties with baking soda or maybe even sprinkle in a little yeast? There’s more drama in dosa batter than most people realize. One little ingredient swap can mean the difference between pillowy-soft dosas and limp, sad pancakes. But hey, if whipping up a classic South Indian breakfast was too easy, it probably wouldn’t taste half as magical, right? Pull up a chair, because whether you’re a tradition lover or a weeknight shortcut seeker, there’s stuff in here you’ll want to know—right down to which shortcut actually works and what the experts (and grandmas) have to say about it.
The Science and History Behind Dosa Fermentation
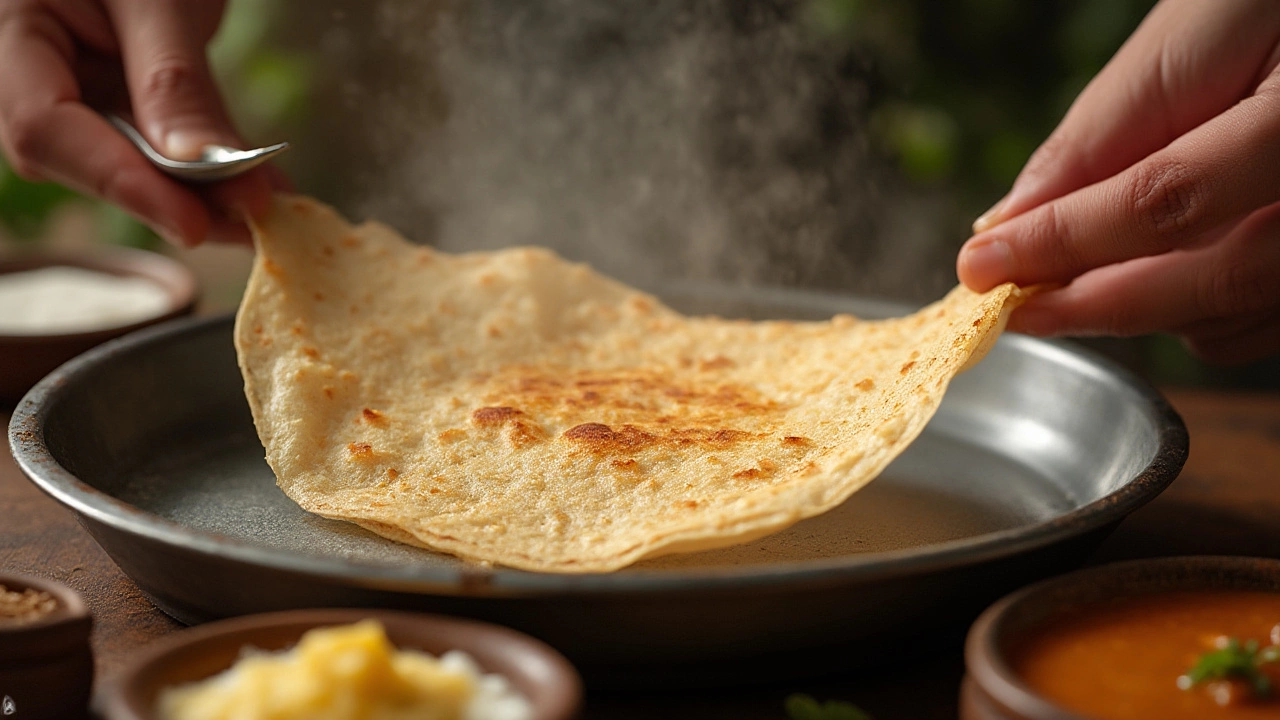
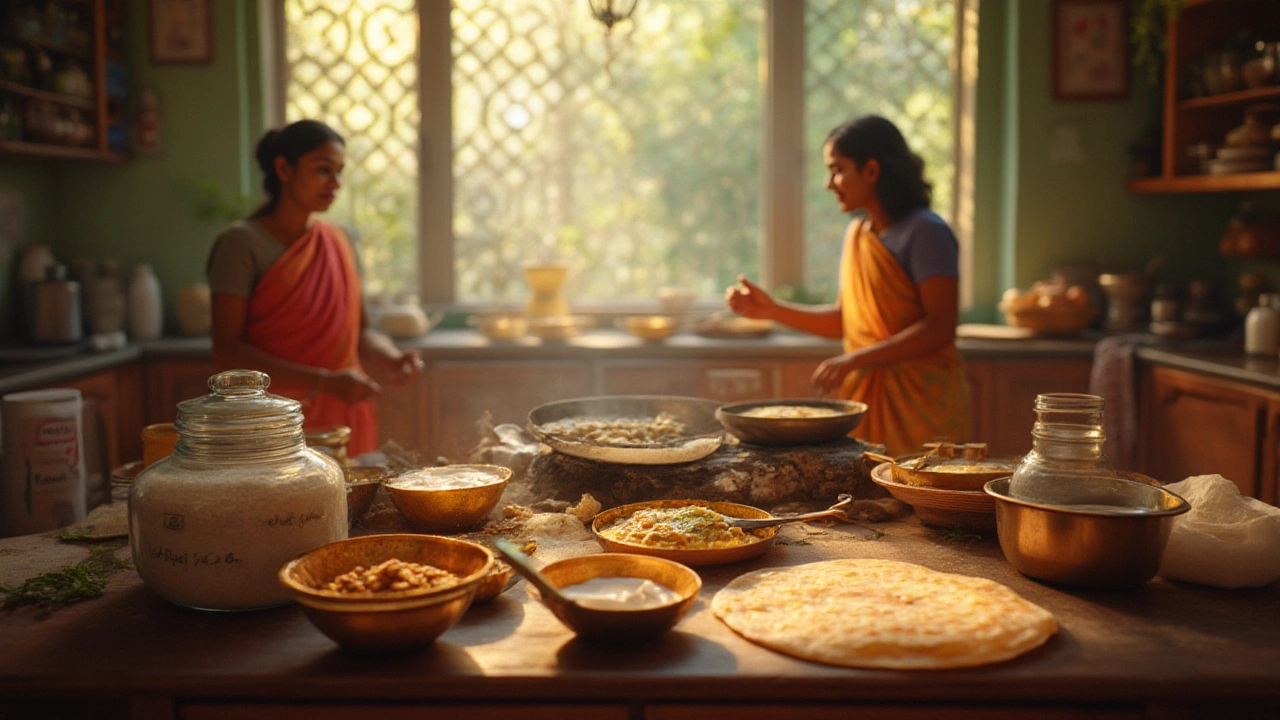
Making dosa the traditional way is a bit like performing kitchen alchemy. In South Indian homes, the usual process starts with soaking rice and urad dal (split black gram) for hours before grinding them into a thick, smooth batter. This mix gets left in a warm spot to “do its thing”—which basically means invited wild, friendly bacteria and yeasts start partying, eating up sugars and creating all those bubbles. You can almost hear the fizz if you listen closely on a hot afternoon. The magic happens because urad dal is loaded with enzymes and wild yeasts clinging to the surface, helping the batter rise without any supermarket helpers.
Now, get this: studies have shown that during fermentation, the pH of dosa batter drops from around 6.4 to 4.6, making it slightly sour and easy to digest. The tangy taste? That’s lactic acid bacteria doing their job. Indians have loved this system for centuries, and the method can be traced back more than 1,500 years. Records in the Tamil Sangam literature and carvings from ancient temples mention dosa-like foods eaten as a special treat. In those days—and in homes that are off the grid even today—relying on nothing but the right weather, patience, and perhaps a lucky hand from a kitchen goddess, created those impossibly crispy, golden dosas that make people gladly stand in line for hours.
But here’s a plot twist. As city kitchens grew smaller and the hustle got real, people began searching for shortcuts. Enter baking soda and yeast—the two quick fixes that often divide dosa-makers into “purists” and “pragmatists.” Each changes not just the look but the very flavor and texture of the dosa.

Baking Soda in Dosa Batter: Fast or Flawed?
You know those mornings when you totally forget to soak your batter the night before? Here’s where baking soda walks in like a knight in shining armor. Pop in a pinch, mix it up, let the batter rest for 15 minutes, and boom—you’ve got something that at least looks like dosa batter. But is it the same? Not exactly. Baking soda (sodium bicarbonate) is a leavening agent. It kickstarts a chemical reaction in the presence of an acid (think sour curd or a squeeze of lemon you might add) and releases carbon dioxide gas, which forms bubbles. This means you get instant fluffiness. That’s the upside. The downside is you could easily go overboard and end with a soapy, metallic aftertaste or dosas that brown too quickly but taste sort of flat and lackluster. Texture-wise, they puff up, but their signature sour tang is dialed down.
Food scientists often recommend using less than ¼ teaspoon of baking soda per 2 cups of batter. This keeps the rise in check and avoids flavor disaster. Fun fact: a small 2023 kitchen experiment at a hotel management college in Bengaluru found that baking soda reduces fermentation time by 9 hours on average but decreases dosa aroma scores by almost 27% (when tasted side-by-side with slow-fermented batter). Clearly, nature knows best, but modern kitchens have their emergencies.
For anyone looking to add baking soda, remember—timing matters. Add it right before you plan to cook. Let the batter sit for 10 to 15 minutes, just enough to relax and let the gas form. But don’t over-whip or rest for hours—it turns into a bubbly, runny mess. If you want a little more tang along with the rise, add a spoonful of curd/yogurt to gently acidify the mix. That way, your dosas won’t taste one-dimensional.

Yeast in Dosa Batter: Tradition’s Challenger
Mention yeast to an old-school dosa maker, and you might get the side-eye. But here’s the thing: yeast isn’t entirely out of place. After all, traditional fermentation relies on wild yeast anyway. The trick is, store-bought yeast is a concentrated version and, well, it packs a punch. Toss half a teaspoon of dry yeast into your batter, and fermentation that would take 10 hours can happen in under three. This is seriously tempting on a rainy day when your kitchen is as cold as a fridge and nothing seems to bubble, no matter how long you wait.
Studies in Indian culinary schools have compared yeast-fermented and naturally fermented dosa batters. A 2022 study in Hyderabad showed that yeast brought rise, but the dosas could turn out slightly bread-like—thicker, softer, but sometimes less crispy, and with a flavor a little reminiscent of bakery bread (hello, pizza crust undertones). If you use yeast, it’s best to keep the quantity tiny and mix it with warm (not hot!) water and maybe a spoon of sugar to “wake it up” before adding it to your batter. Too much yeast? Your dosa will smell and taste more like a sandwich than a South Indian treat.
Yeast, though not traditional, can be a real game-changer in winter or high-altitude kitchens where wild fermentation just won’t happen. Some home cooks also like to let the batter ferment for a short bit with yeast, then let it rest overnight in the fridge, balancing out the rapid fermentation with a slow, cold rise. This method creates good bubbles without overpowering that classic tang. Always remember: less is more.
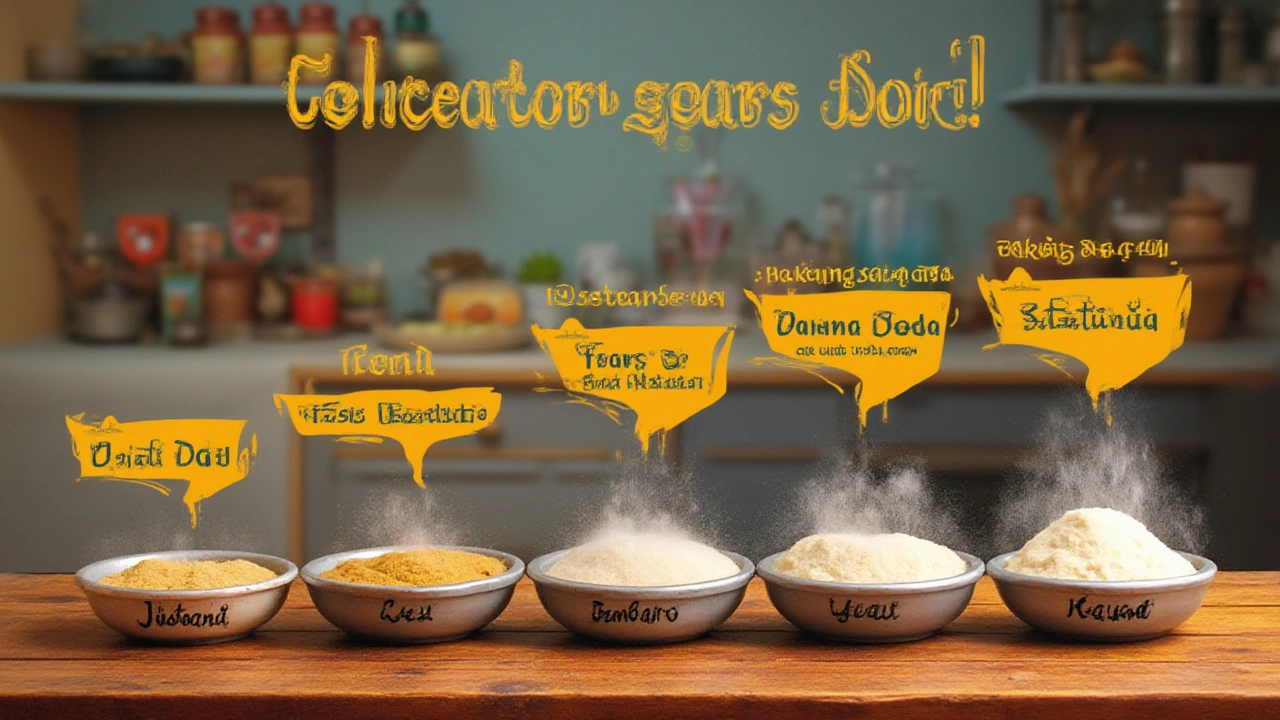
Still not sure who wins the face-off? Check out this handy table for a quick comparison:
| Method | Fermentation Time | Dosa Flavor | Dosa Texture | Digestibility |
|---|---|---|---|---|
| Traditional (no additives) | 8-16 hours | Complex, tangy | Crispy, airy | High (lactic acid helps) |
| Baking Soda | 10-30 mins | Mild, less tangy | Soft, quick-browning | Medium (can cause gassiness) |
| Yeast | 2-3 hours | There’s breadiness | Softer, possibly thick | High, but flavor shifts |
So, what should you do? If you want the dosa grandma would proudly eat, stick to the slow, natural way. But if life happens, and the dosa craving strikes, baking soda or yeast will get you there—with a few tweaks. Whichever route you pick, just remember: fresh batter always wins. Don’t let that mix languish in the fridge for a week hoping it’ll learn new tricks!
- dosa batter needs warmth. Set your batter in a switched-off oven with the light on, or wrap the bowl in a towel if your kitchen is chilly.
- A few fenugreek seeds (methi) added to your initial soak help fermentation and give a lovely golden hue. Science backs it up: methi acts as a catalyst for wild yeast growth.
- If you’re in a super cold area, try adding a spoonful of cooked rice to your batter—grandma’s hack that still works.
Next time you’re wondering whether to pull out that trusty little yellow box of baking soda, or reach for yeast sachets, just think about your dream dosa—whether it’s a midnight snack or a slow, lazy Sunday breakfast. The only real mistake? Not making a batch at all. Go on, see which method you love. You just might find your own perfect combo.
